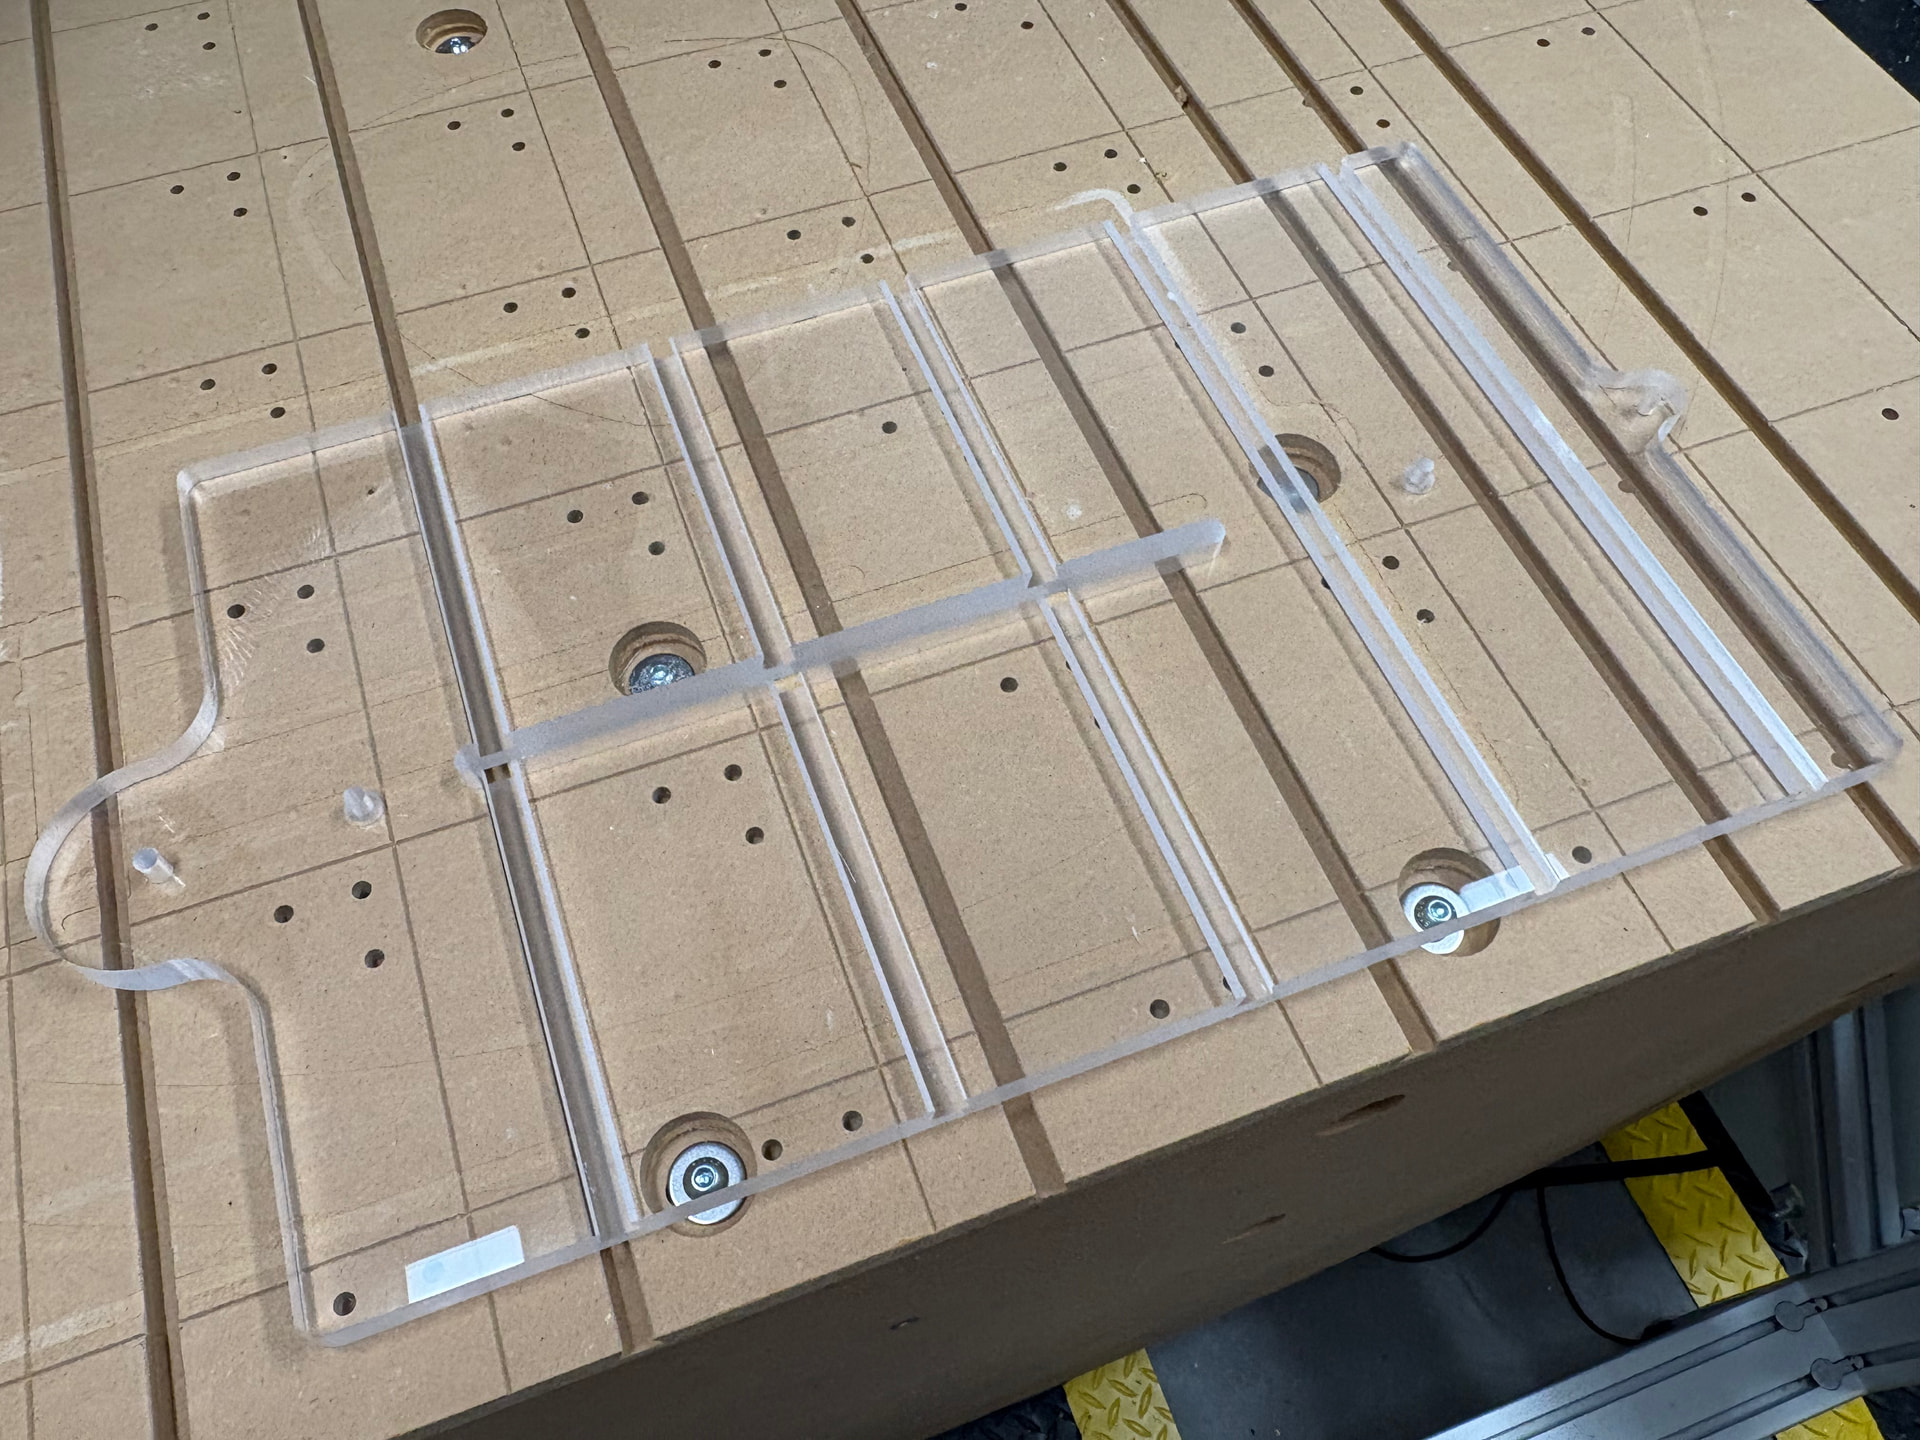
This was my first time working with acrylic. I used 1/8” & 1/4” O-Flute router bit. The router bits measured at .118” and .236” respectively. I bought a piece of scrap acrylic to run the hole precision and tweak the allowances.
I grooved out all the dovetails to a specific width and depth and then performed a 2-step clean up process, using a 3/8” dovetail offset from the centerline of the groove at full depth. Then I used the MicroJig 1/2” dovetail bit to make 1 pass at full depth on center. You will notice very small radii’s on the bottom inside and at the top.
I had zero issues with melting, etc. I used compressed air during the test but opted to run my industrial dust collector instead and it worked flawlessly in evacuating the chips.
It took a long time to set up the toolpaths, feeds/speeds, roughing and cleanup passes but the extra time was well worth it, especially when I spent over $100 for the acrylic.
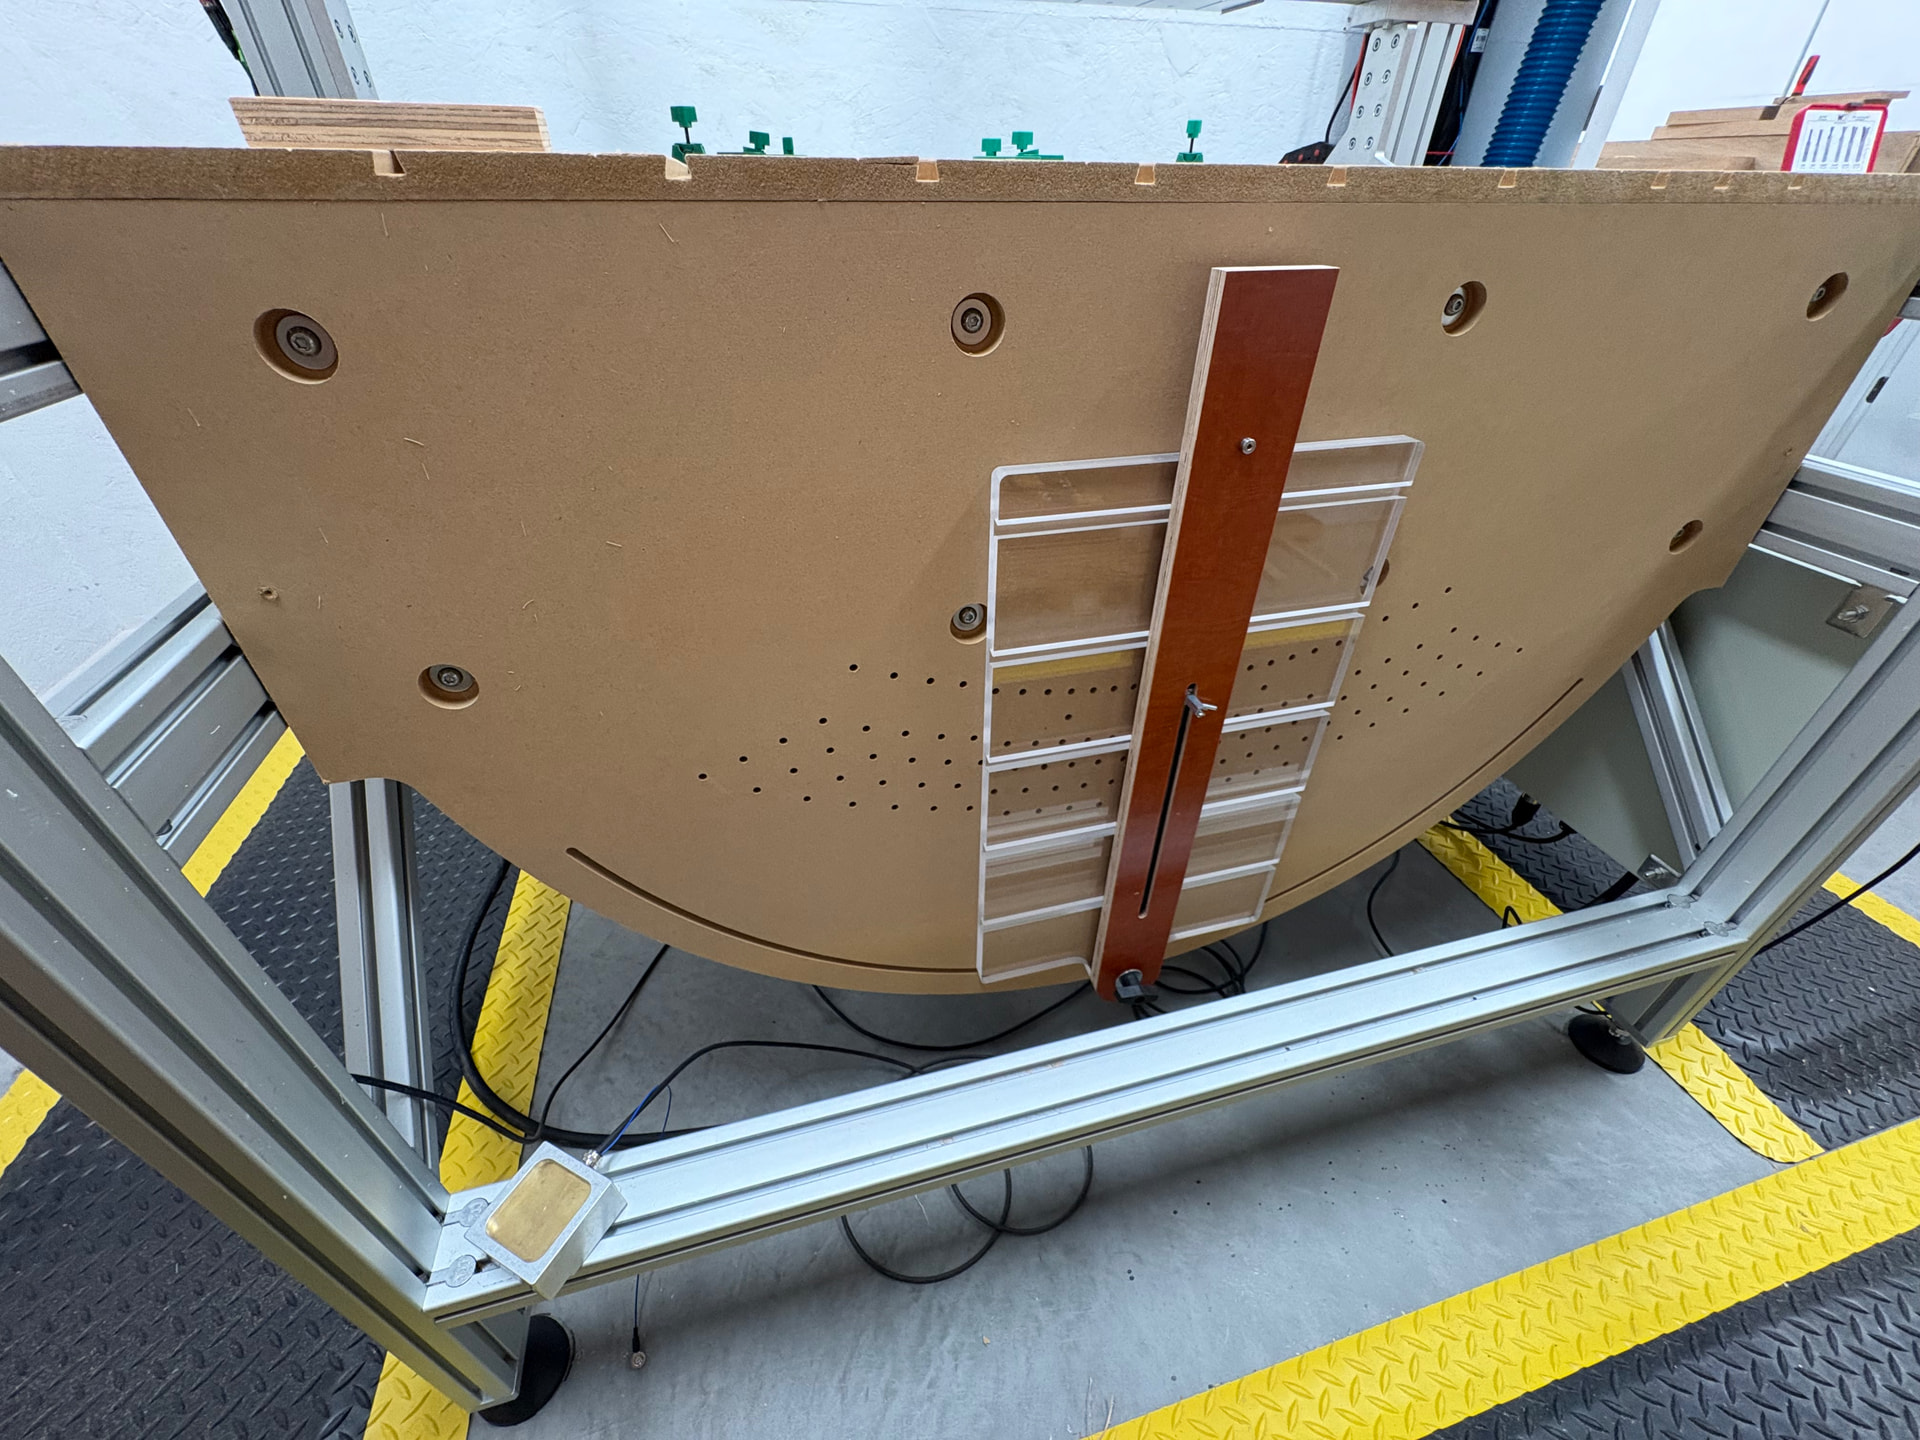
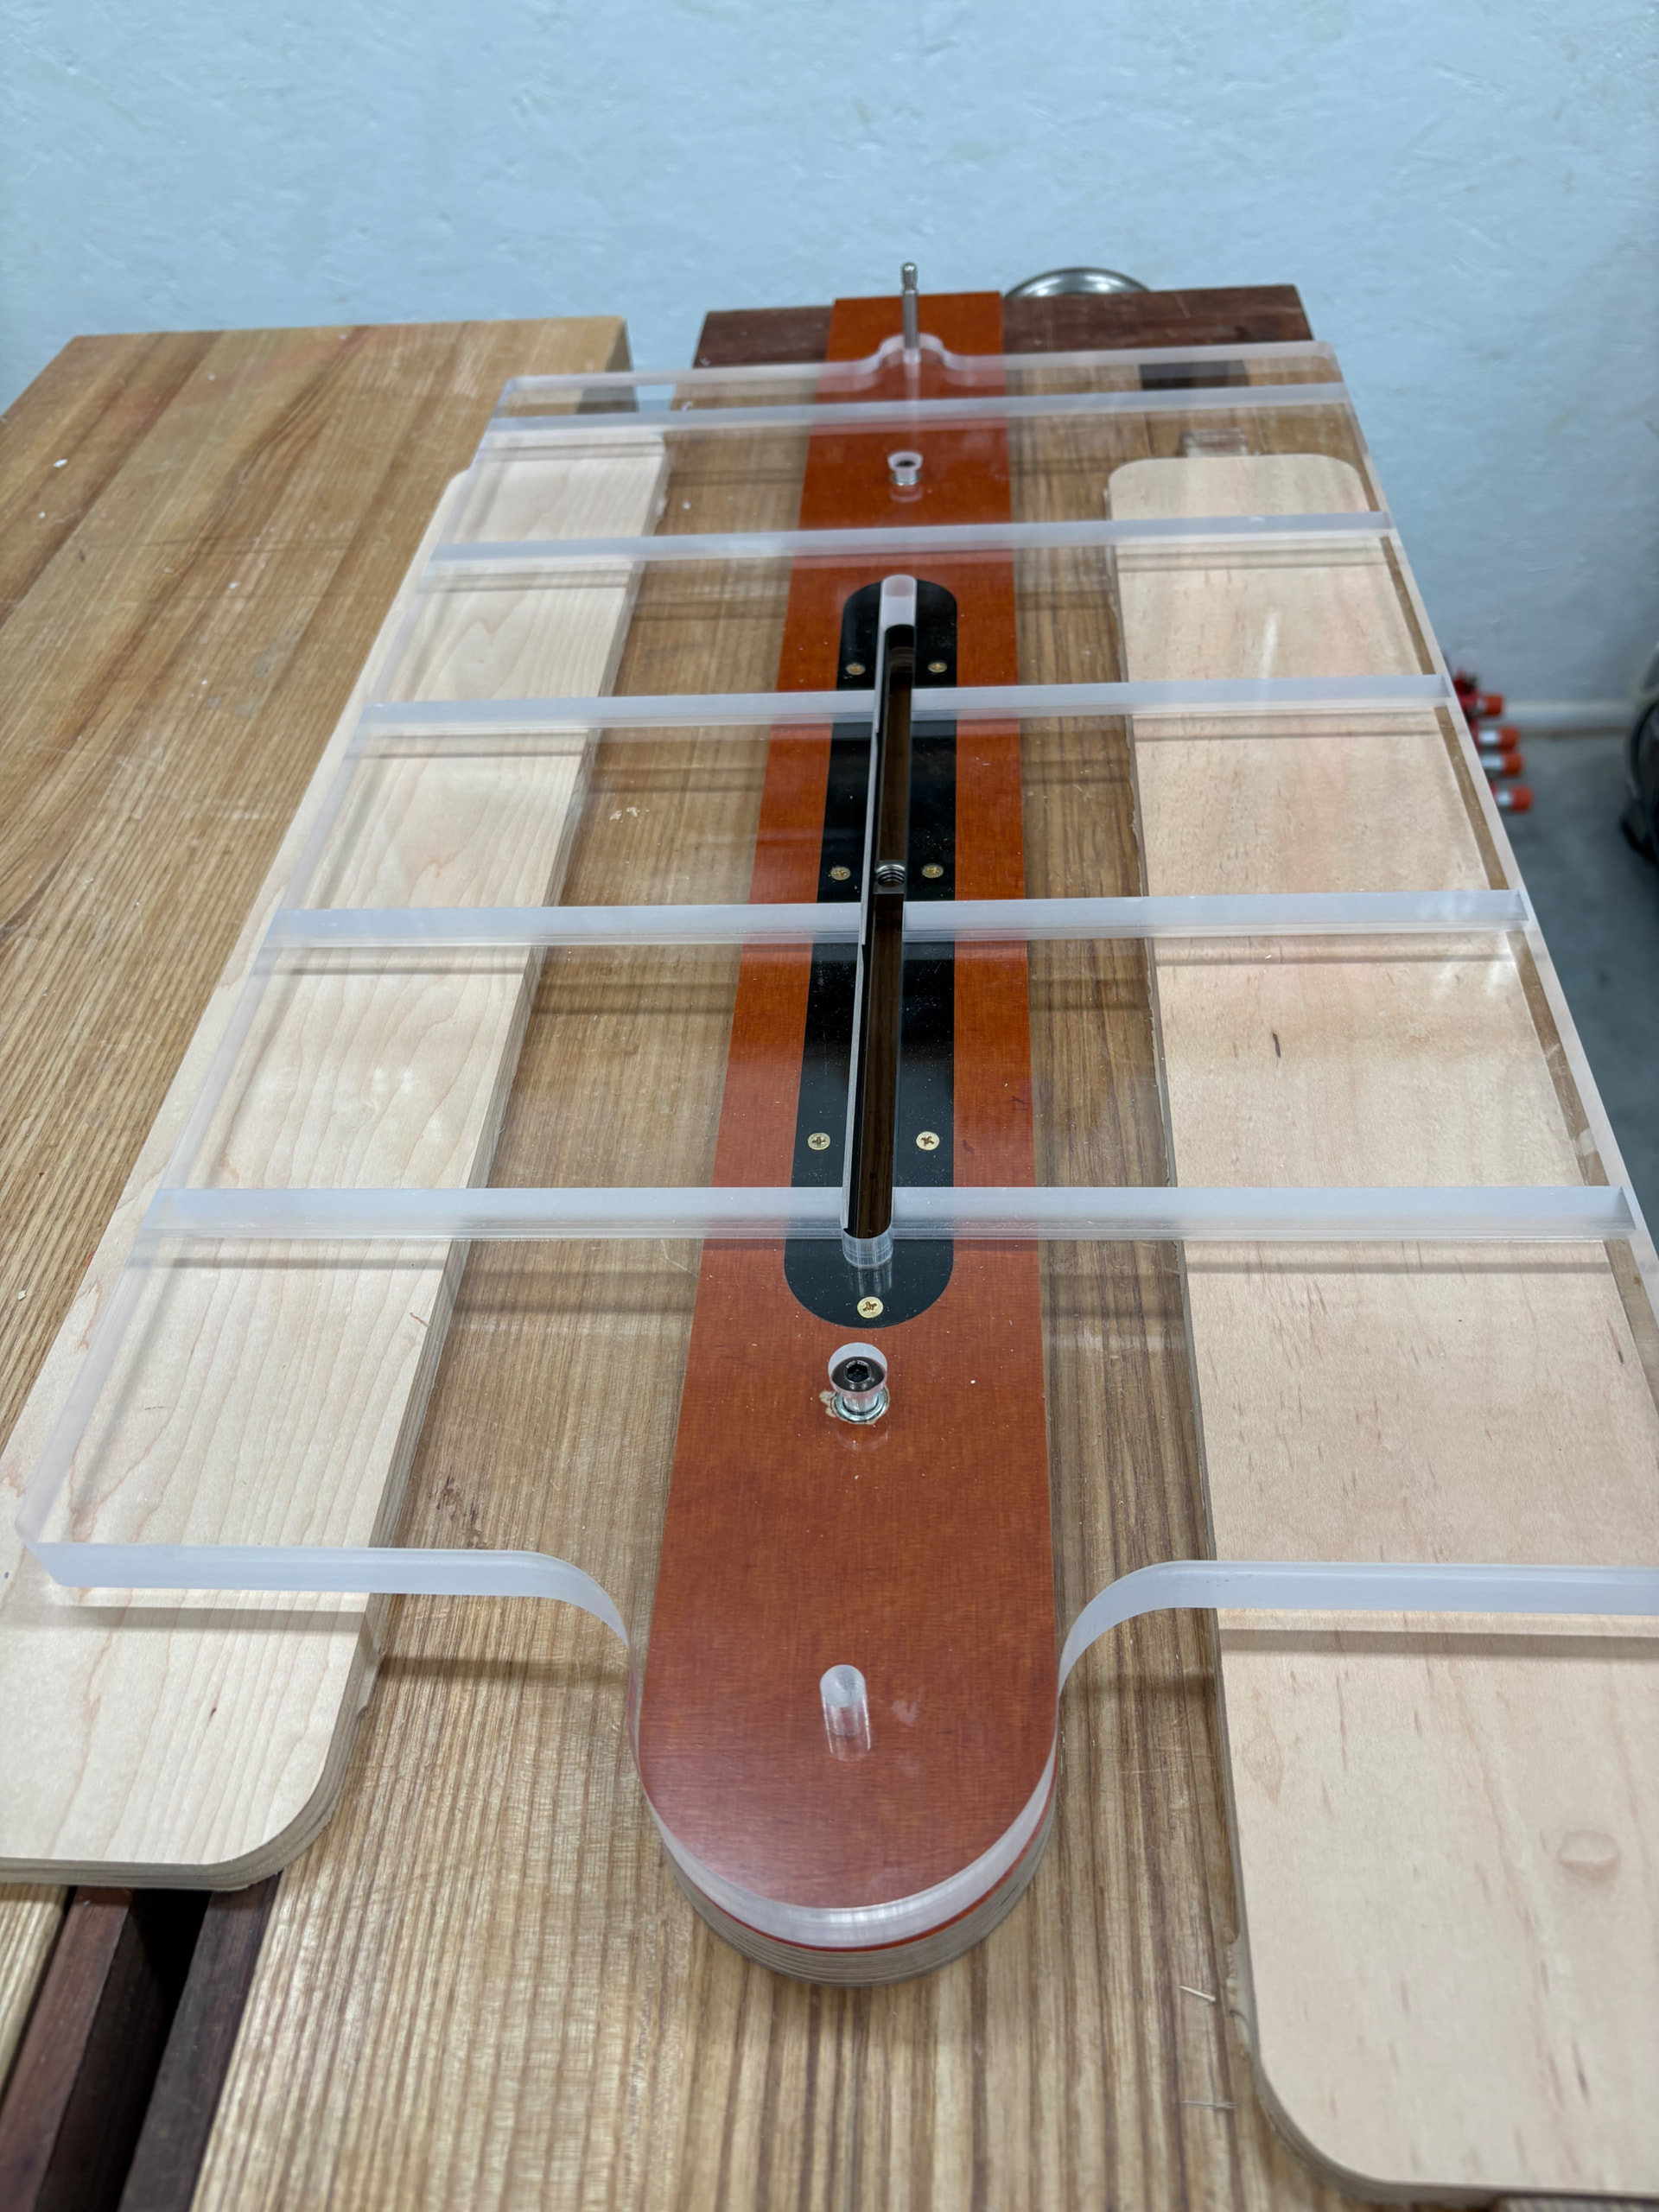
I’m very happy with how this turned out and more importantly, how it functions as an assembly.
I believe it functions very well and will last a long time. It’s definitely a good starting point. I have further ideas to design auxiliary jigs to be used with this in the foreseeable future.
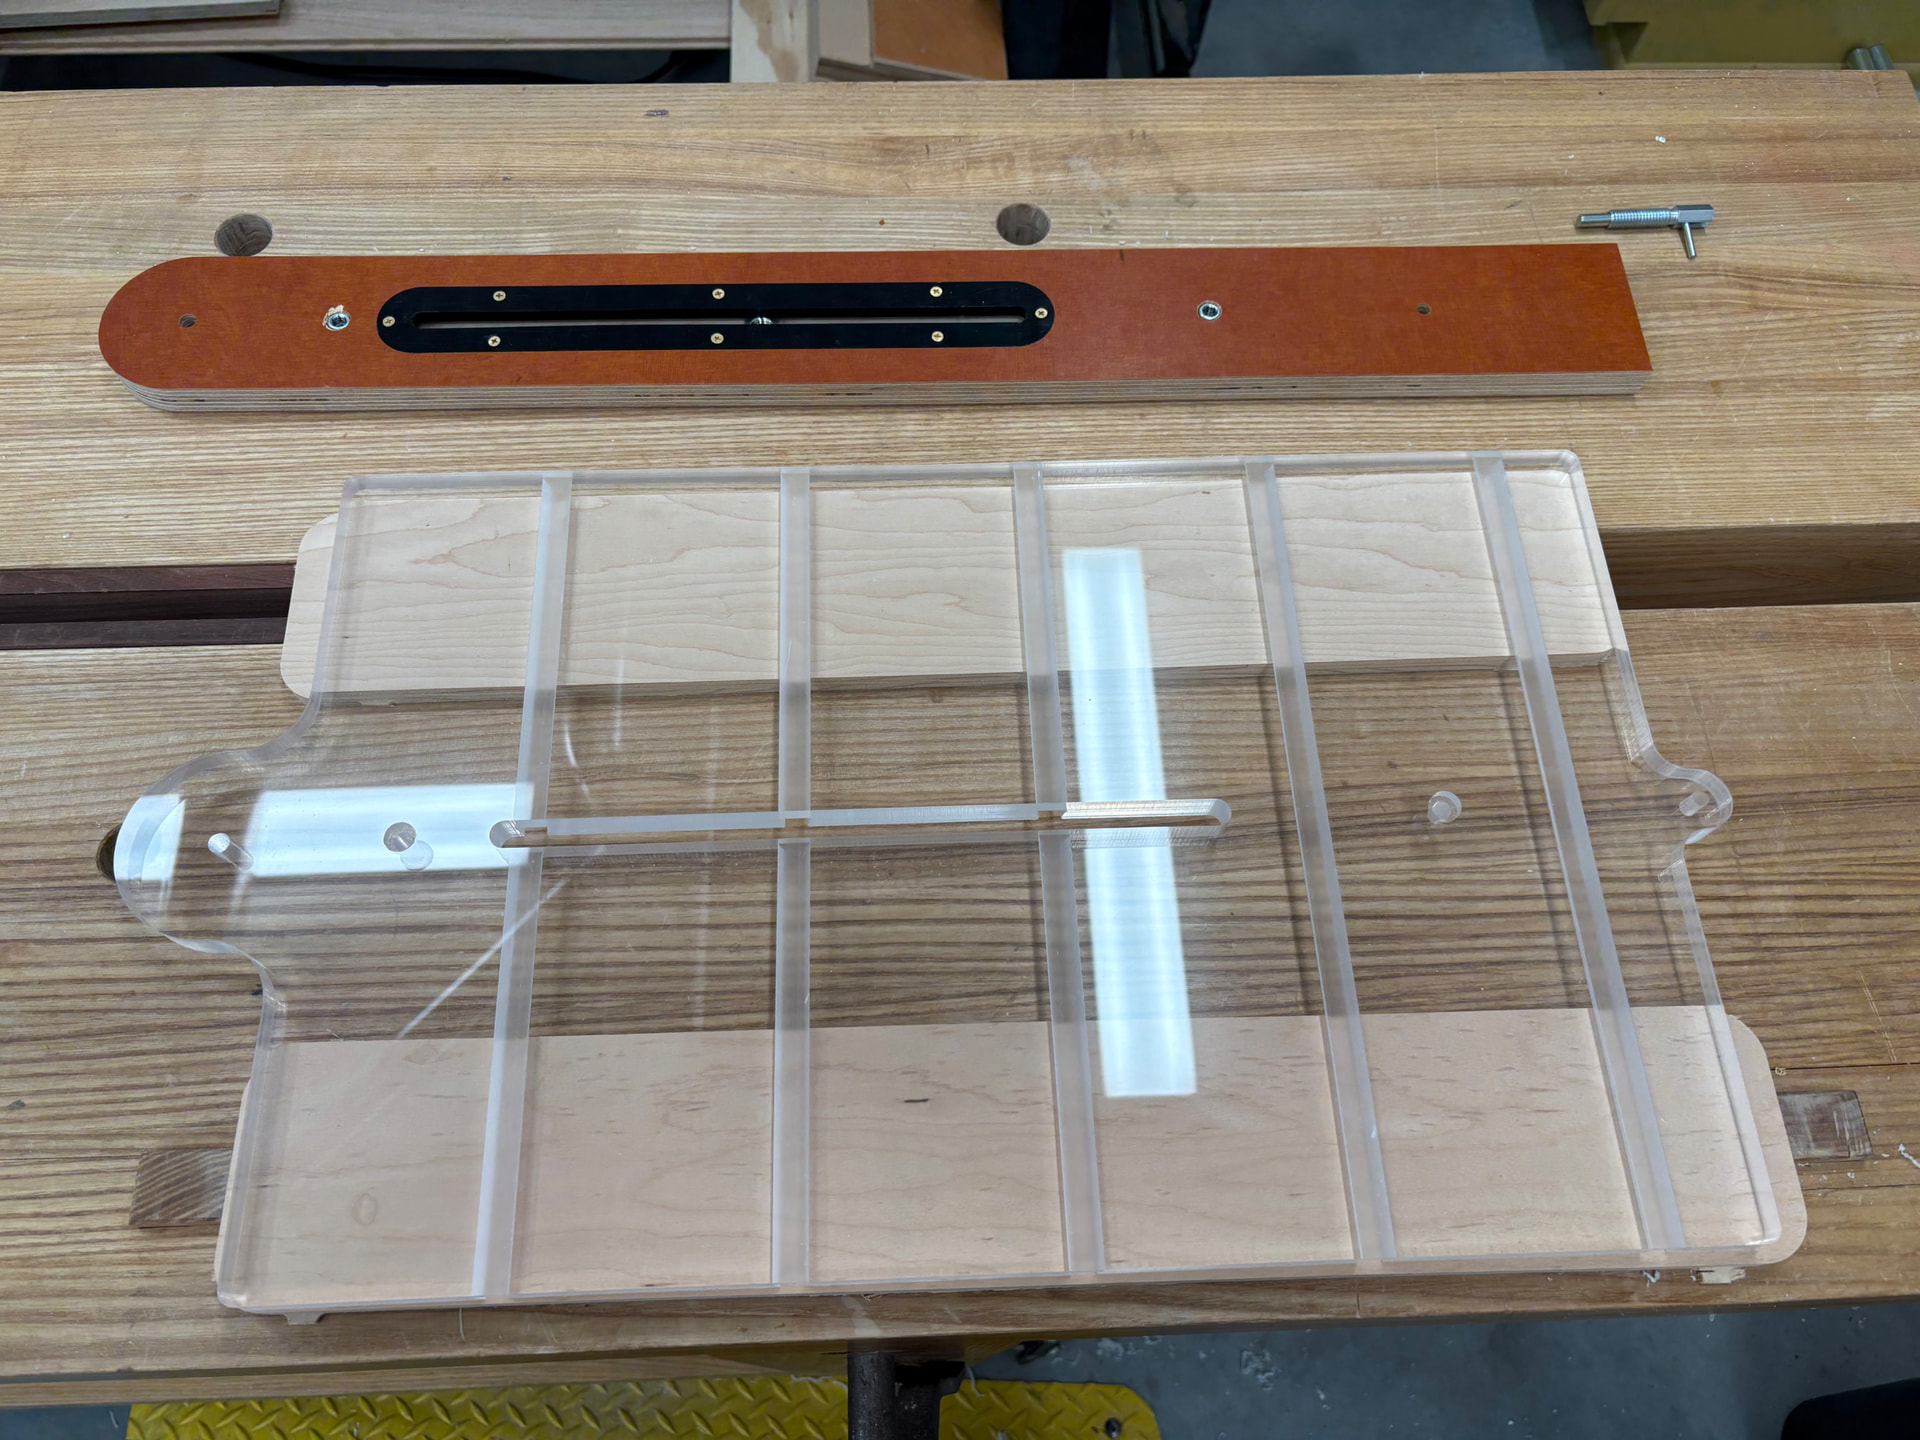
It’s only as good as the tolerance allowed. I ordered all the hardwood components (minus acrylic) from McMaster-Carr. Once received, I adjusted my design for proper precision.
I intentionally exported toolpaths to single files. I would run them step by step in sequence and check the fit with hardware. If needed, readjust allowance in VCARVE Pro, export, and rerun until I got the proper fit.
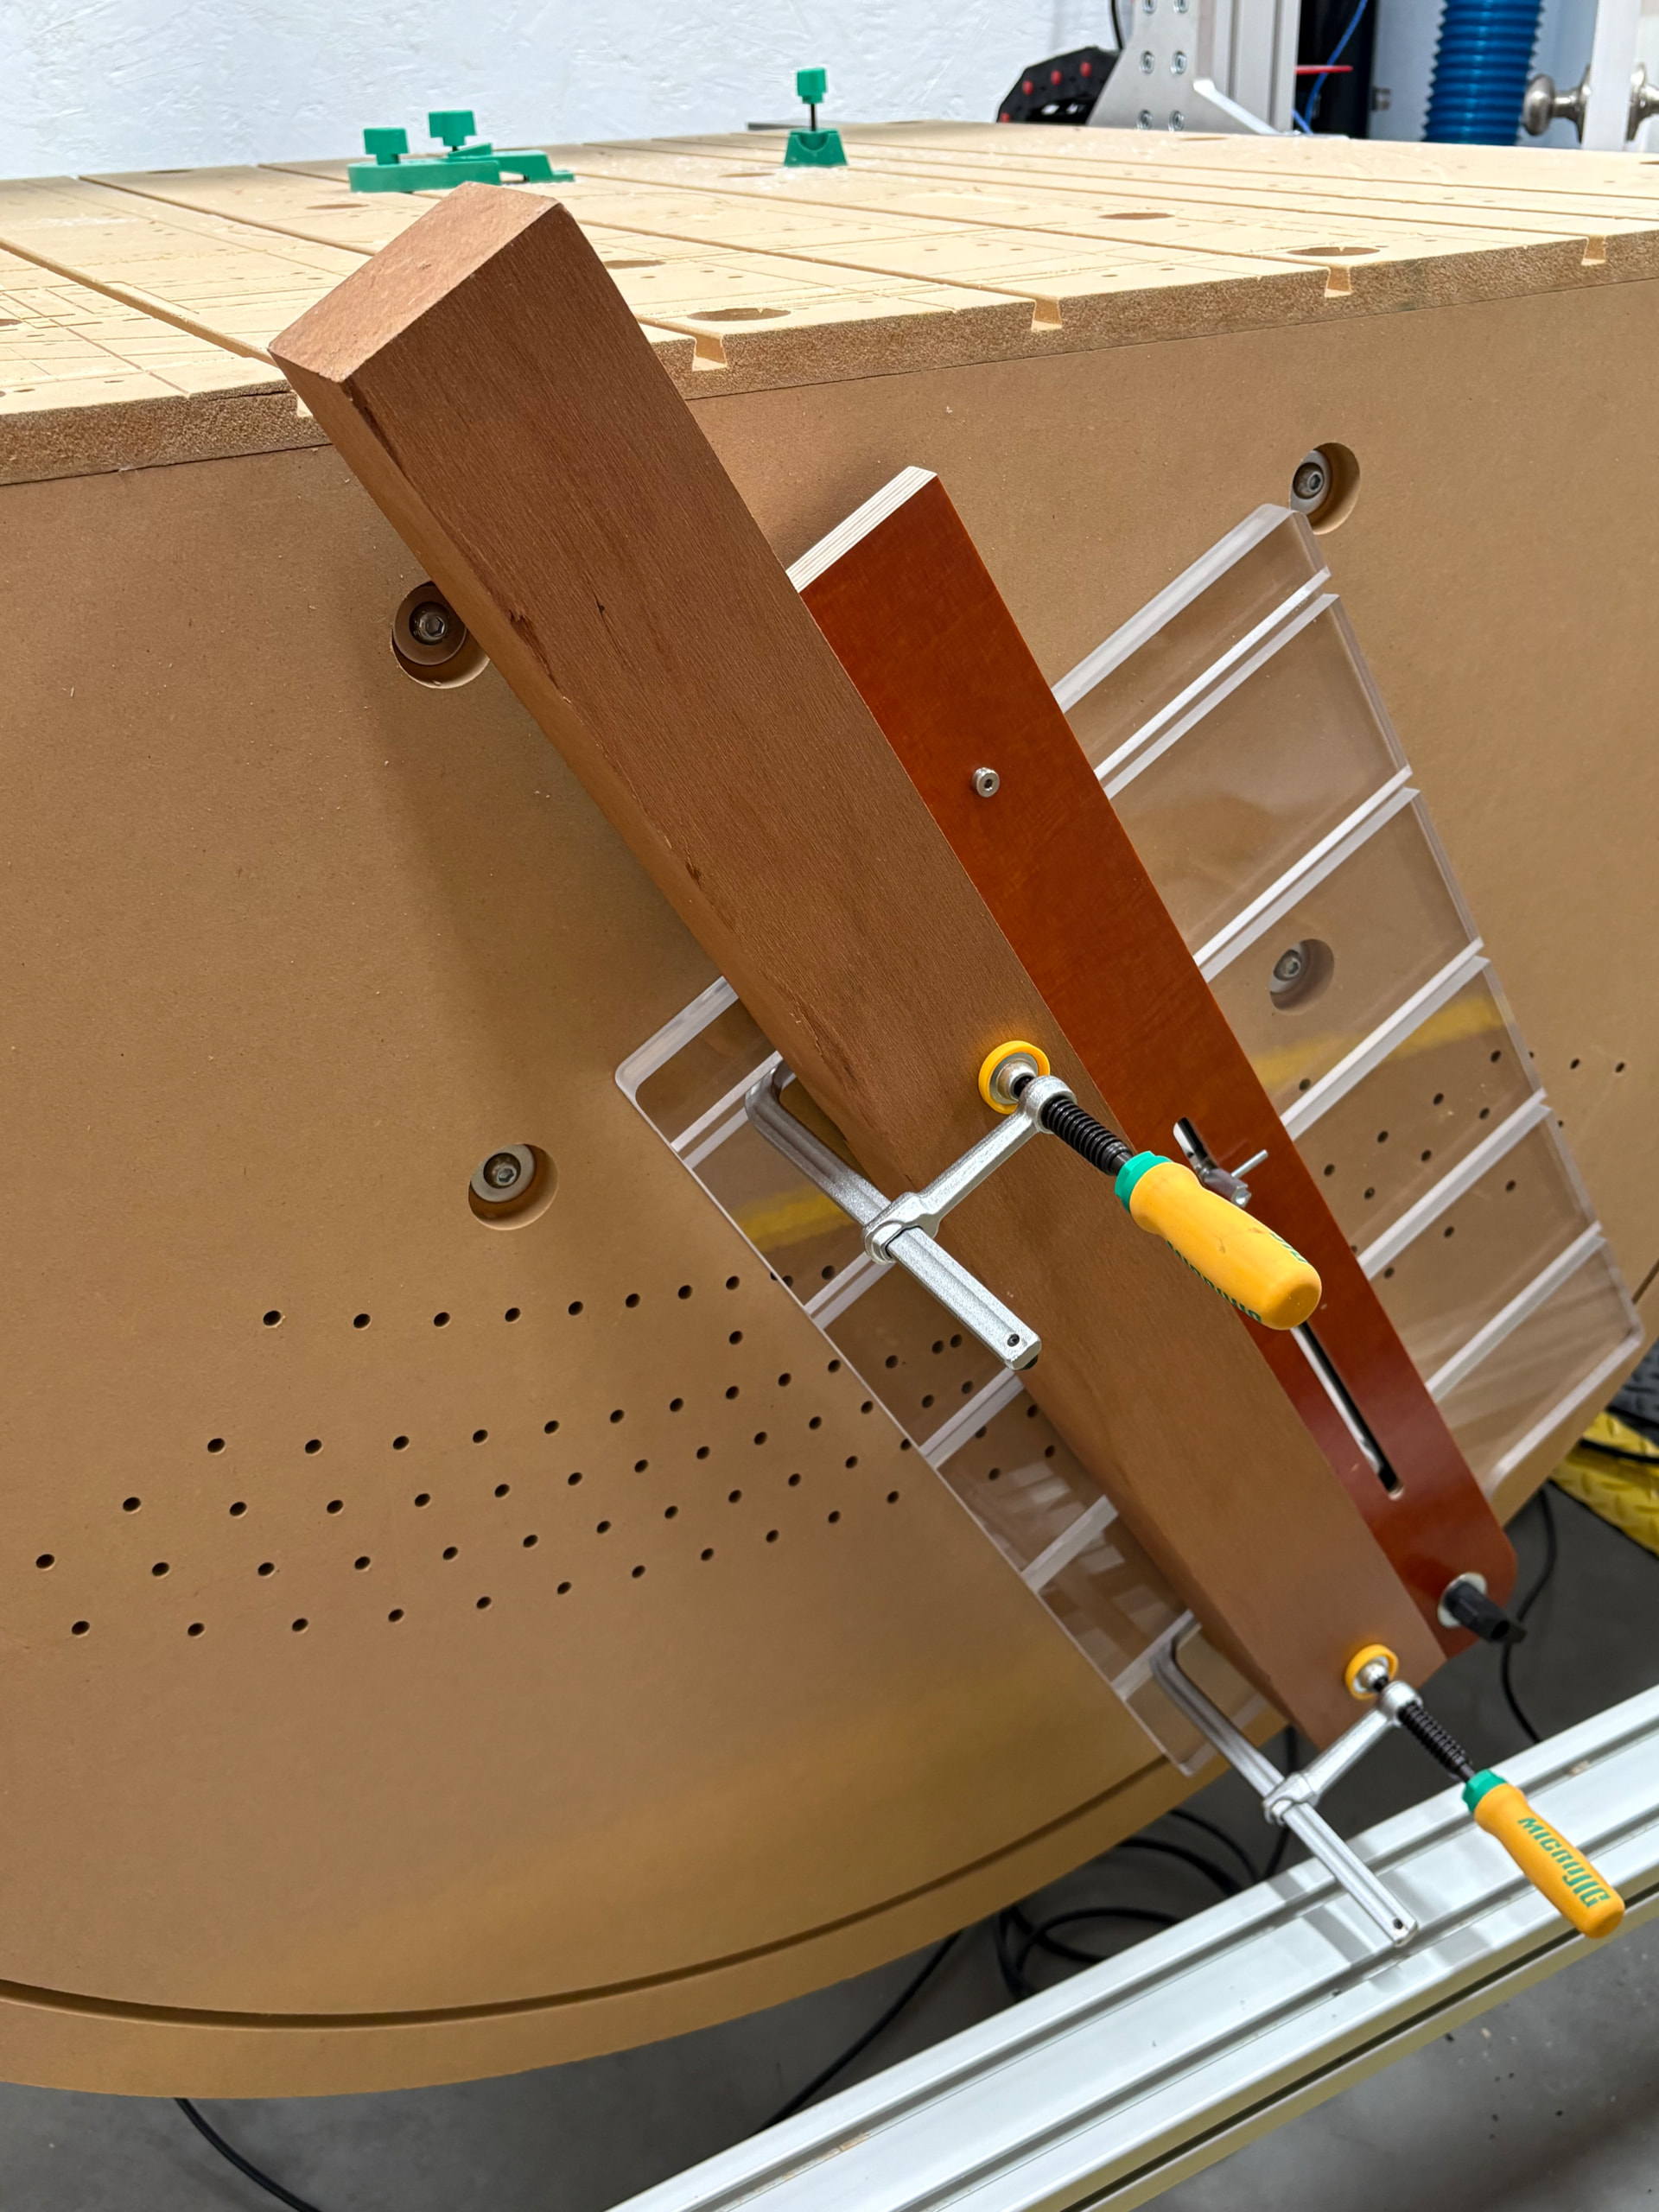
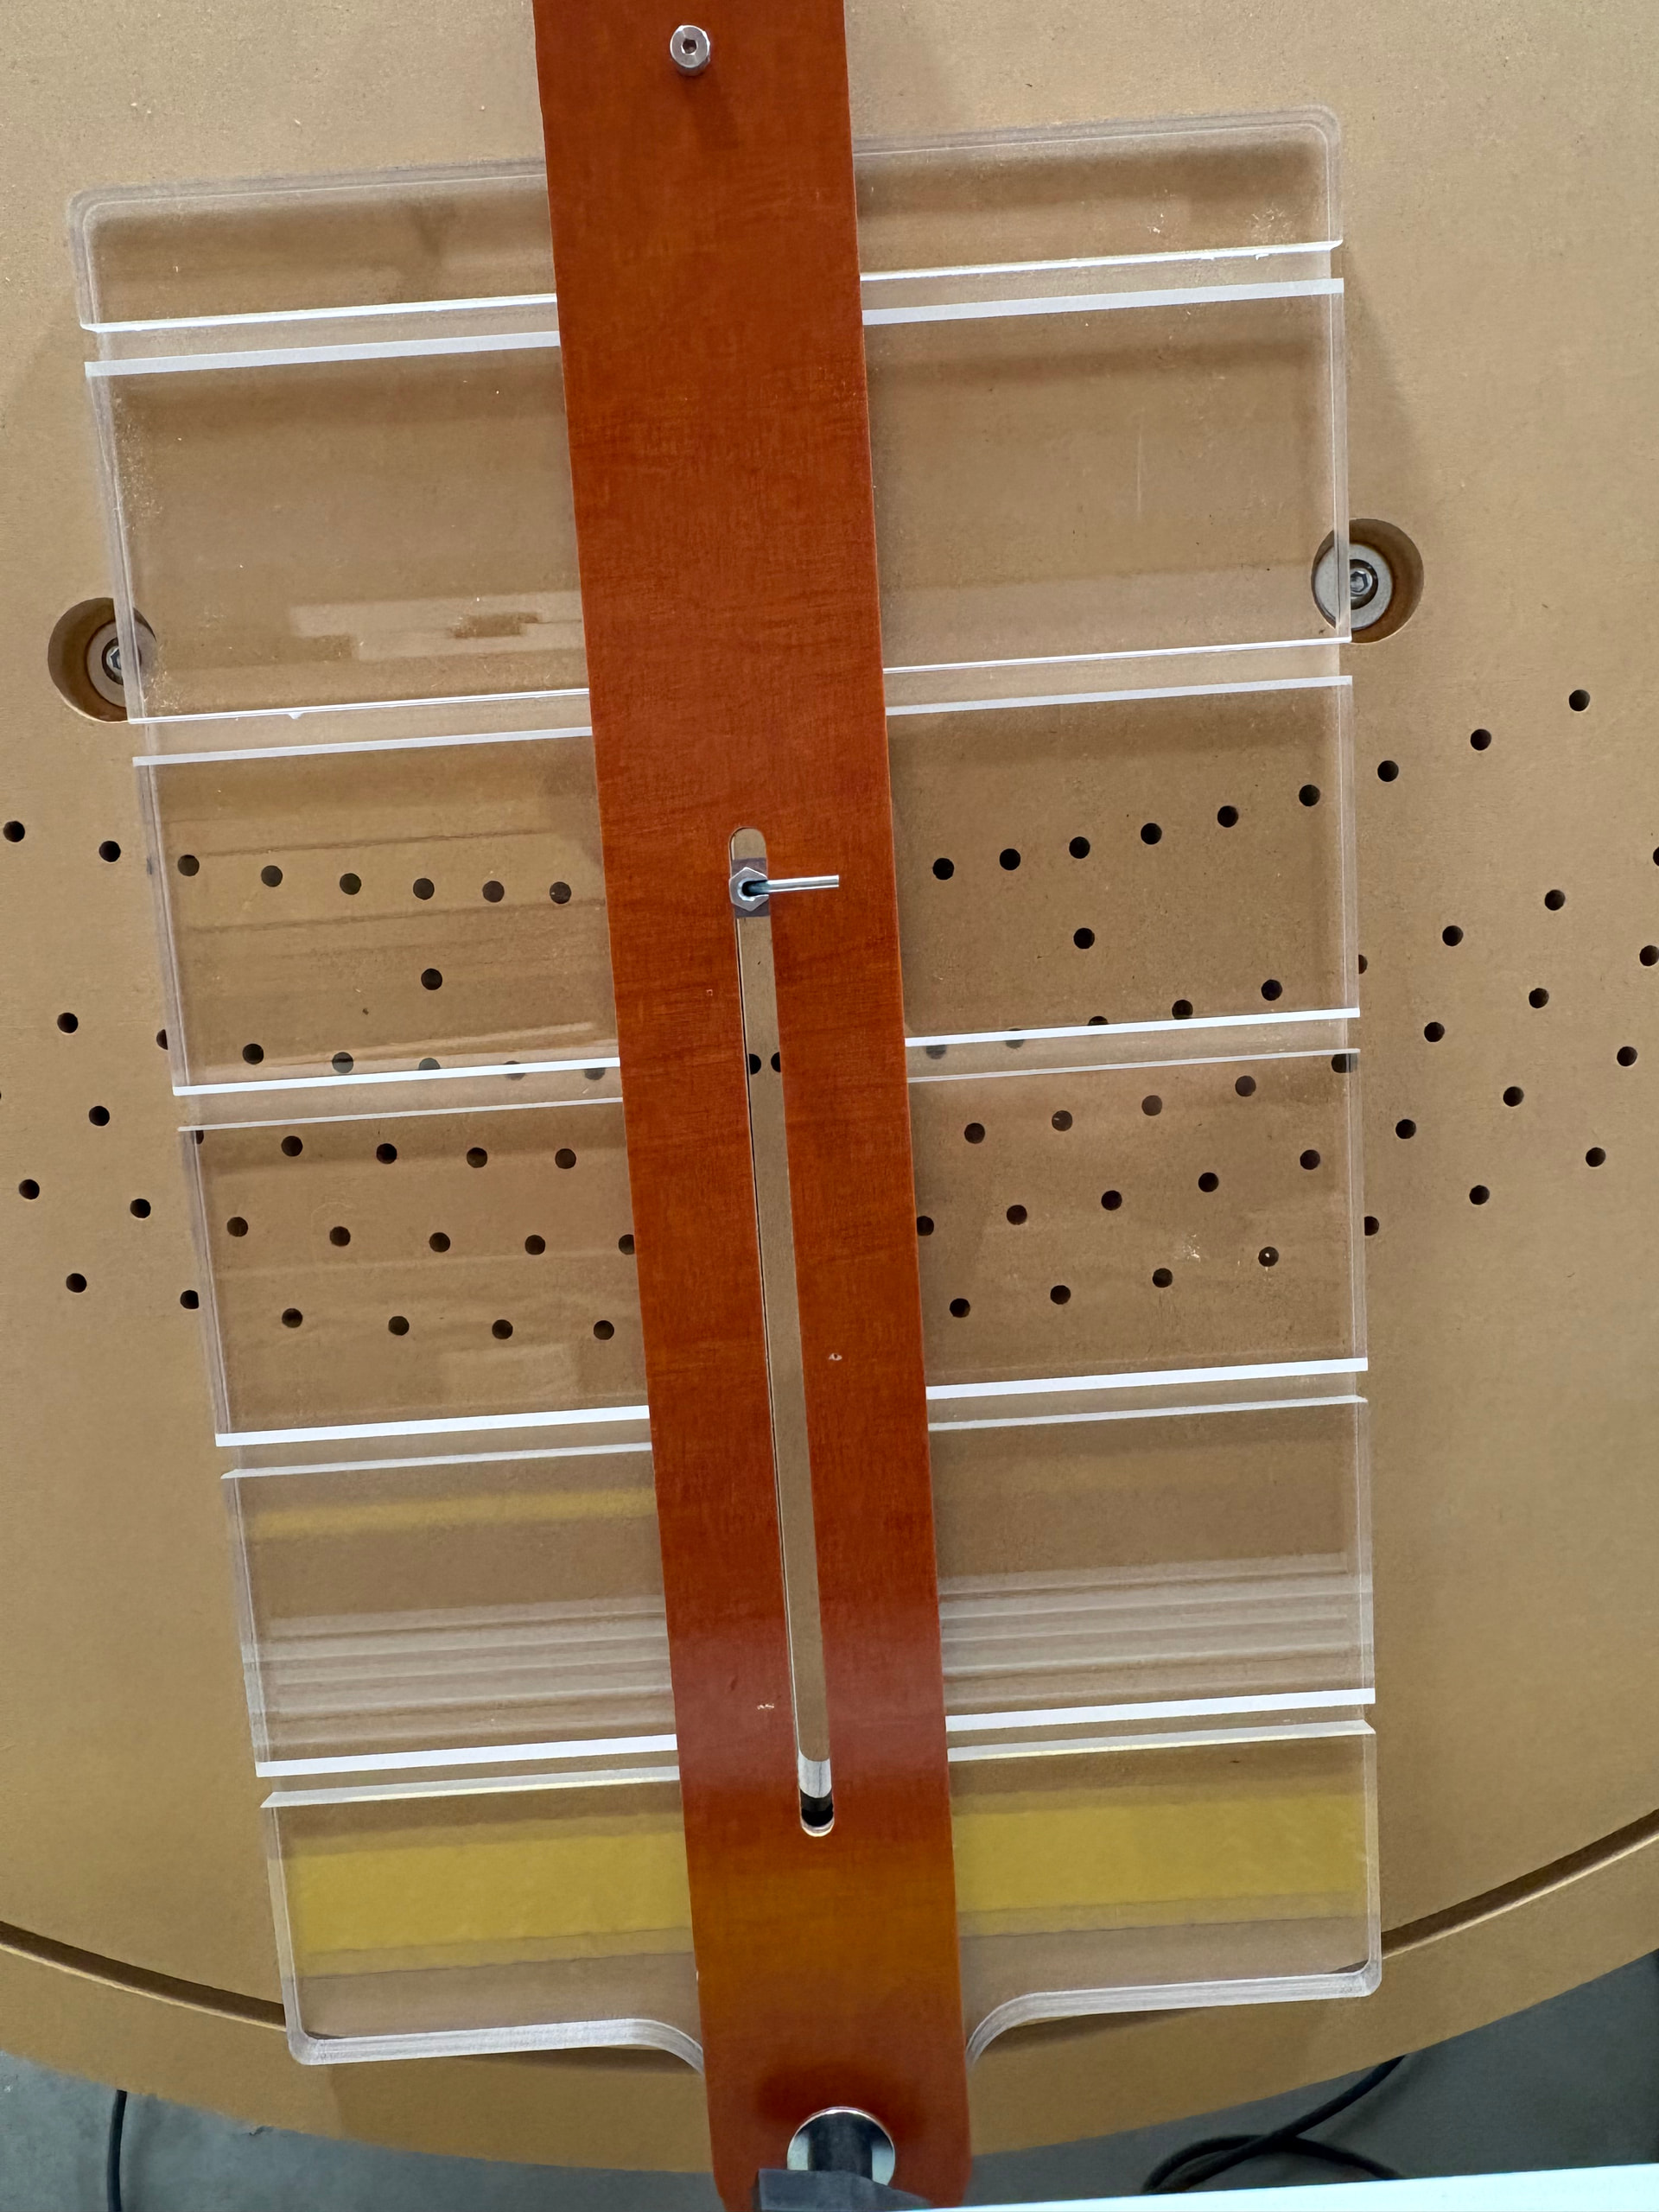
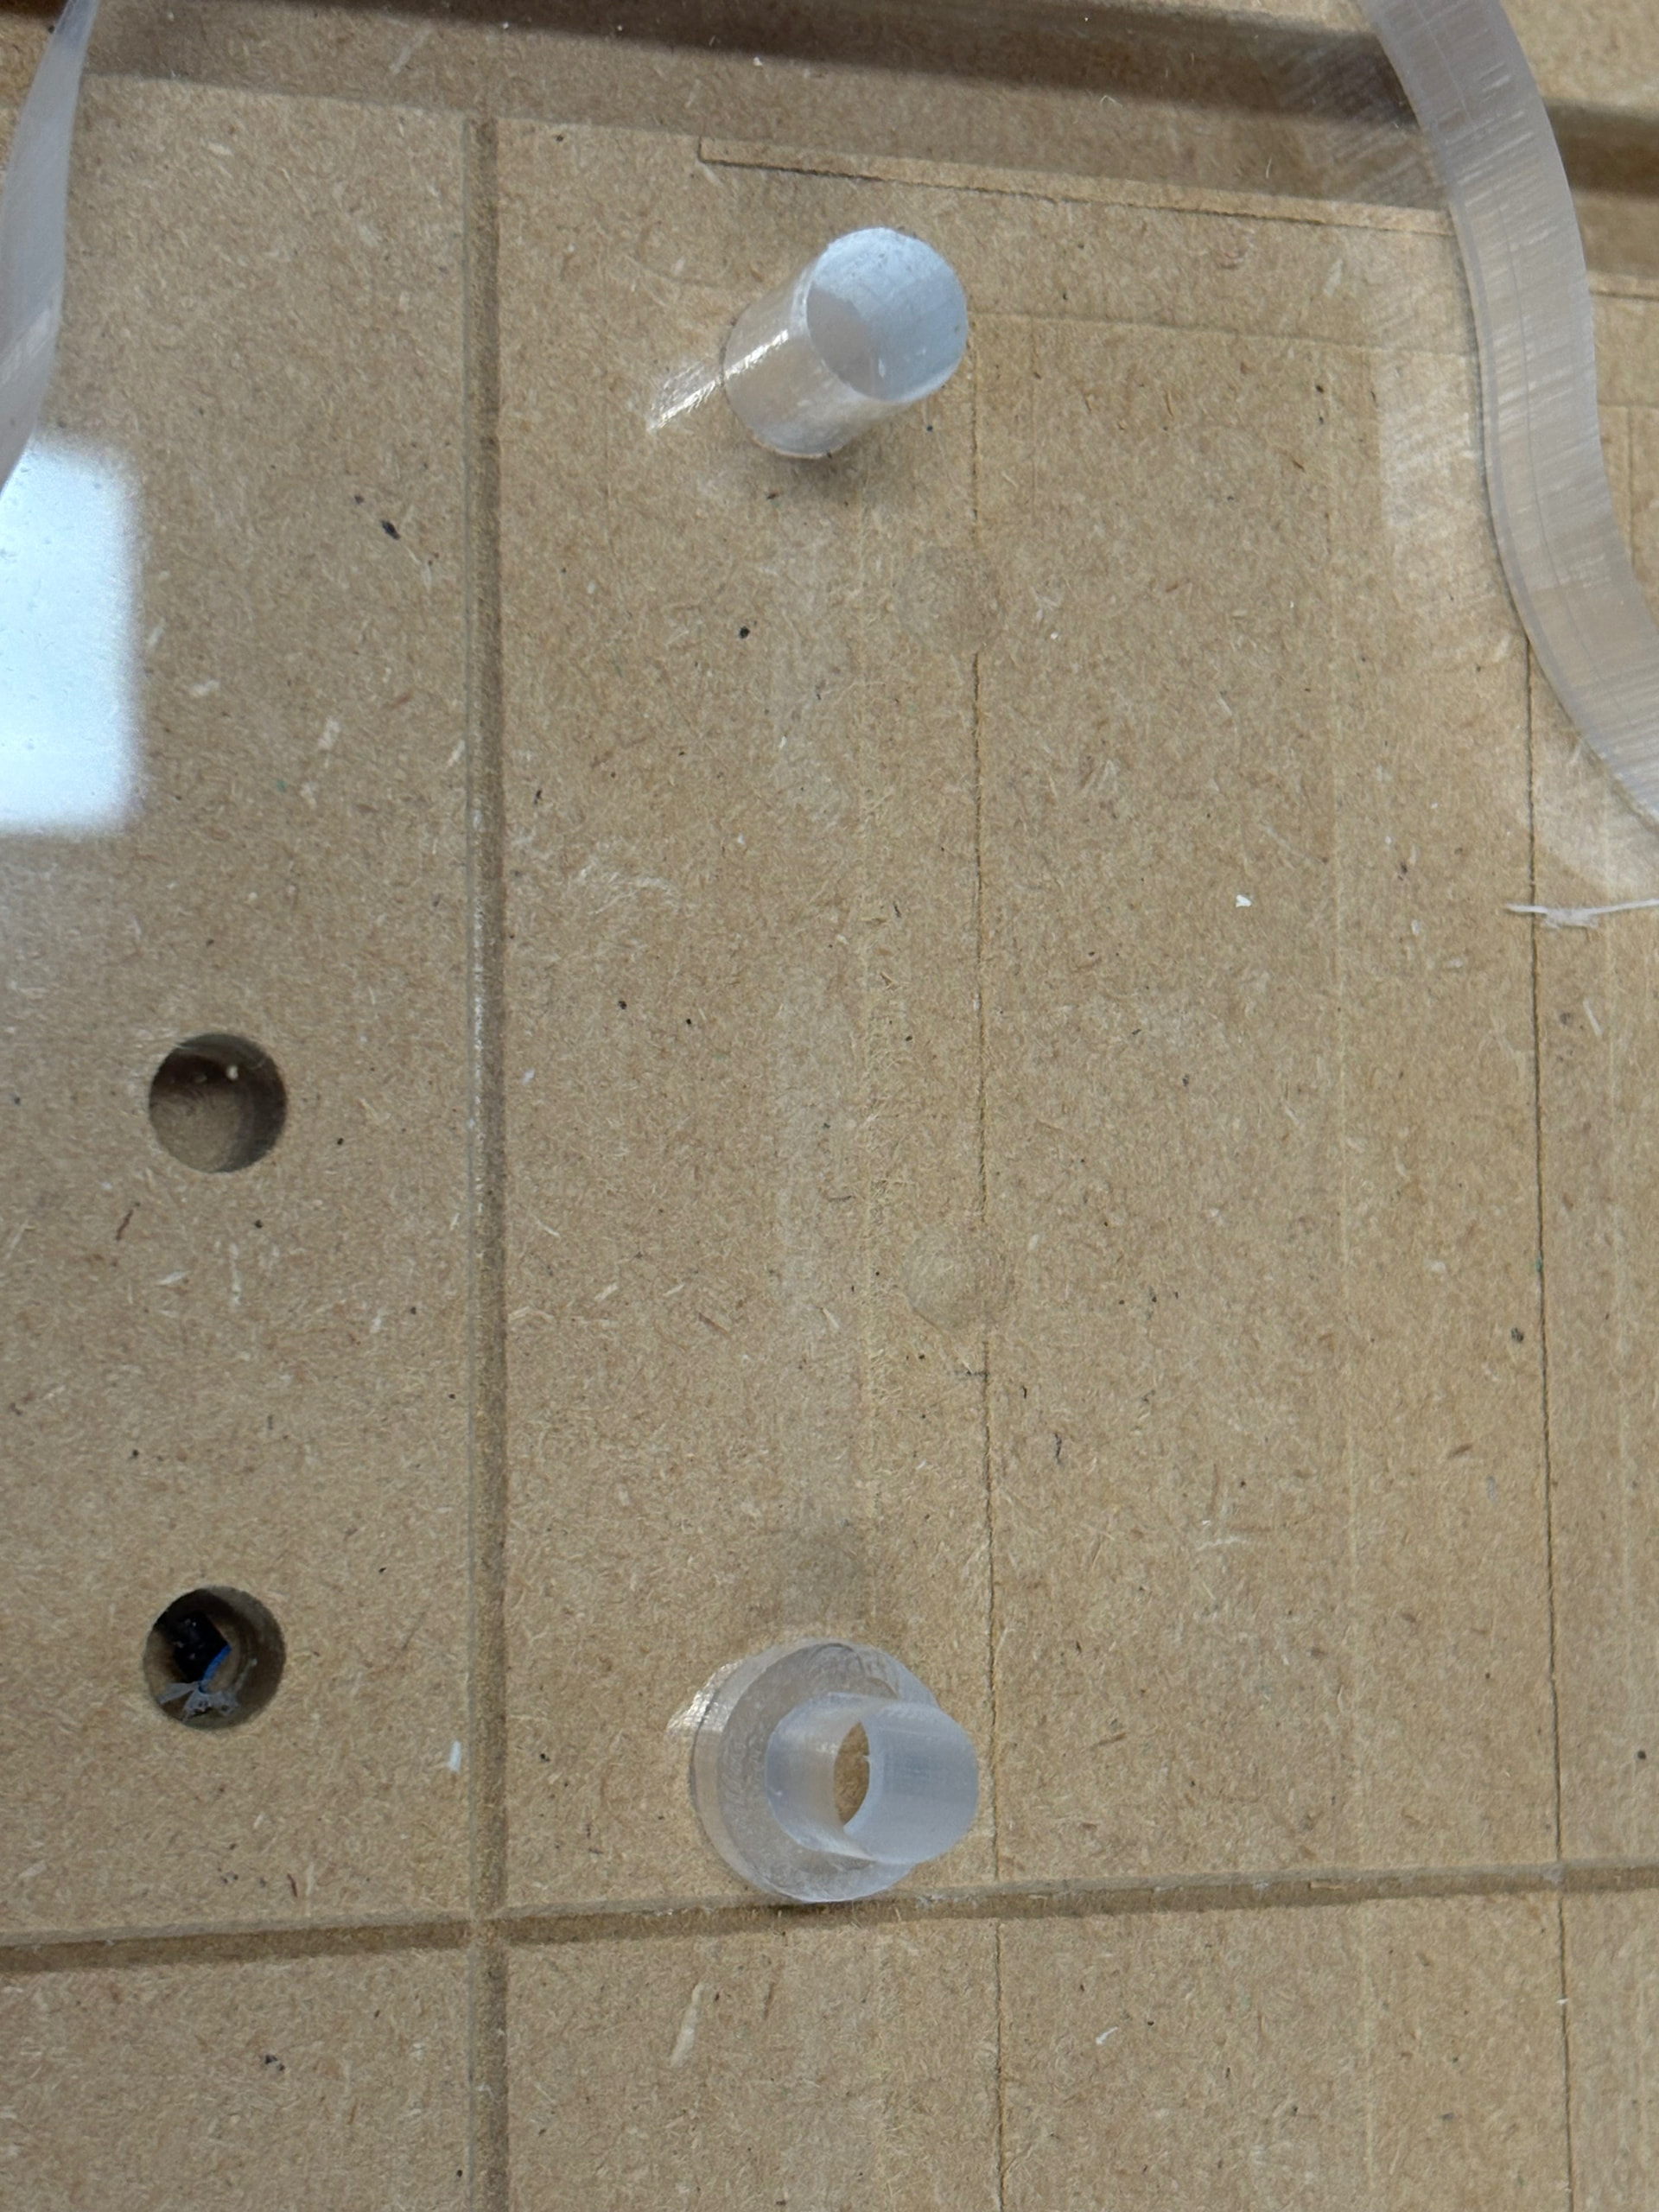
The pivot point (1/4” stainless steel shoulder screw) pivots in a brass bushing that was press-fitted in the MDF. TOL=.001”
The end of the plunger fits very snuggly into the .250 holes with the same tolerance. There is slop between the 3/16 sq nut and the plunger threads due to UNC specs (class 2 tolerance in this case, class 3 has tighter tolerance). The action of the plunger when seated negates this slop. (Only because the SS sq nut itself is held in the channel without deviation.) The angle(s) is/are bang on.