I’ve seen several people do this. I never had the patience to pound or screw all of those threaded inserts in though!
Do you have some pictures of your setup you could share?
I’ve seen several people do this. I never had the patience to pound or screw all of those threaded inserts in though!
Do you have some pictures of your setup you could share?
Sure, I’ll post some pics in a day or so.
Gordon
Been doing this for 30 years. Nothing but screws and cams occasionally.
CA glue and painters tape…how does this not make sense he lost LOL!
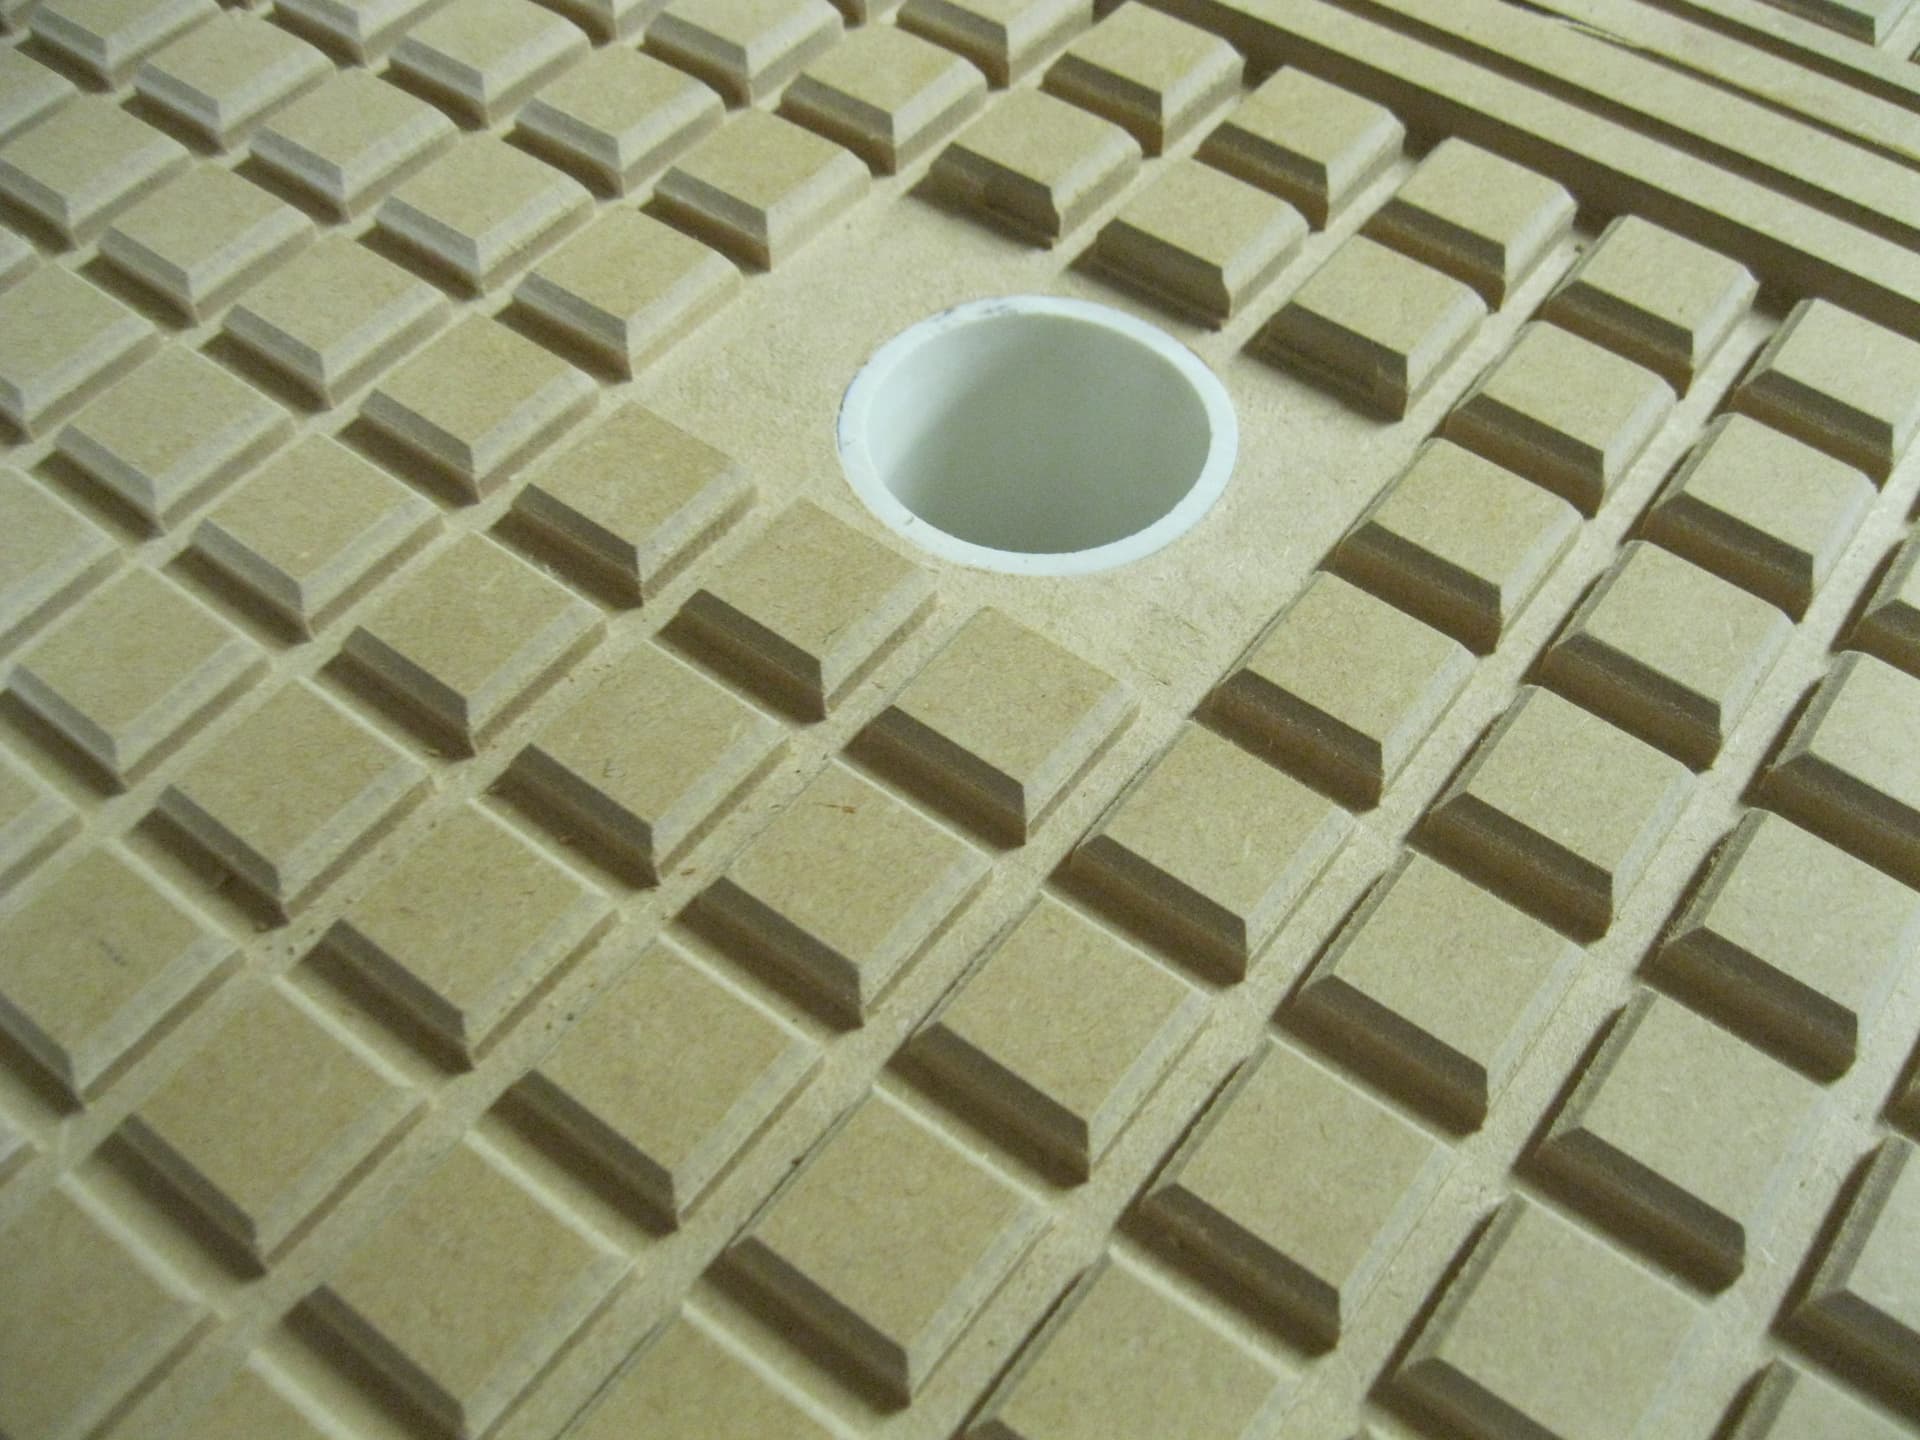
That is what I’m doing in the photos I posted, further above. I’ve got threaded inserts at the bottom of every one of those holes. They are the flange type so the cannot pull through if I over tighten and I put a ring of construction adhesive on each one before screwing them in. It took 1/2-day to get them all done but it has been quite handy… (see photo of the diagonal pattern of holes, further above.)
-Kenneth
Have you ever seen the Saunders Machine Works vises? It looks like that grid pattern might work with a vise-style work holding setup.
Also, for those of you using vacuum pods, which ones? I have a real vacuum pump system for other tools, but have never found any vacuum pods for routers that looked good.
-Alex
is that a plasma cutter attached to your gantry?
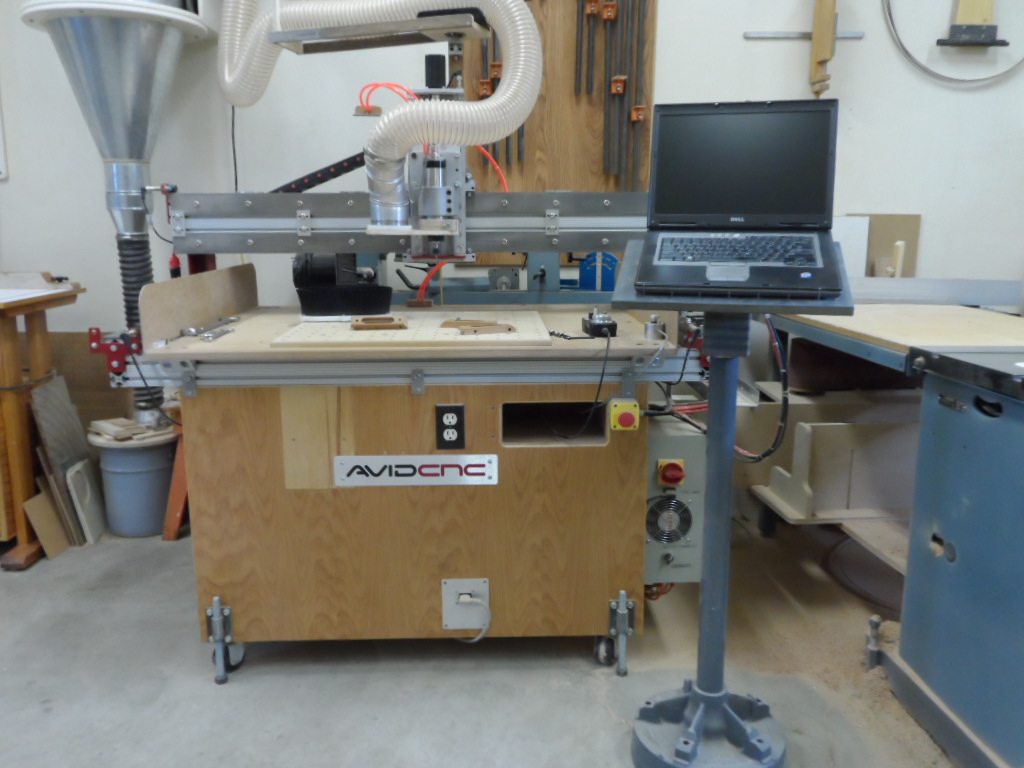
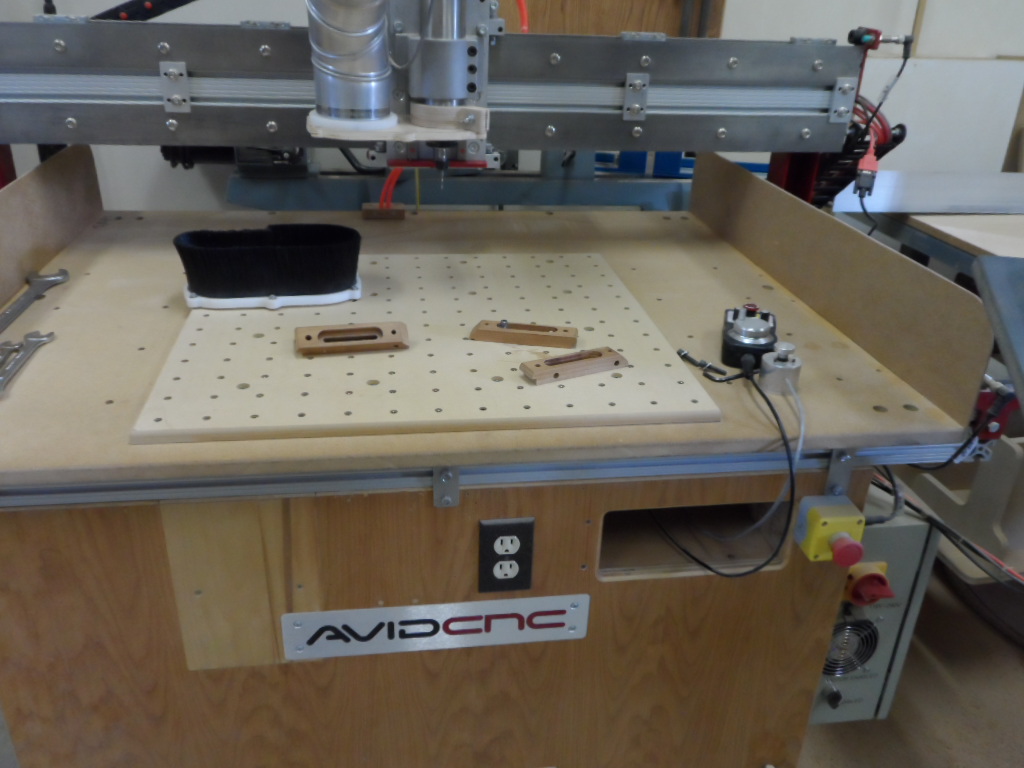
Yes, that is a plasma cutter on a 2’nd Z-Axis on the gantry. CNCRouterParts/AVIDcnc set this machine up for me that way. It is a 4’x8’ machine. I’ve got a rotary axis recessed, parallel to the X-Axis of the machine, then about 30"x48" of swarfboard with the embedded screw down anchors for working with the router. (I do a few projects in wood and a whole bunch in acrylic there) and lastly, On the far side I’ve got a 4’x4’ section with a water table on it for plasma.
I’ve posted a few projects on this forum of the plasma cutter in action. https://forum.avidcnc.com/t/a-lighted-sign-for-the-workshop/1713 It works great and I use it a ton.
-Kenneth
very cool. you have me thinking about when i extend my table i might move the back end be a plasma section. thank you for the idea.
Wood box nails. I use mostly 1" baltic birch plywood.
When I tried a composite nailer, it did not have enough force and it’s nails bounced the plywood up off the table before pushing the nail into the spoilboard, so the stock material was off the spoilboard surface.
I used to use double-stick tape on a smaller CNC machine.
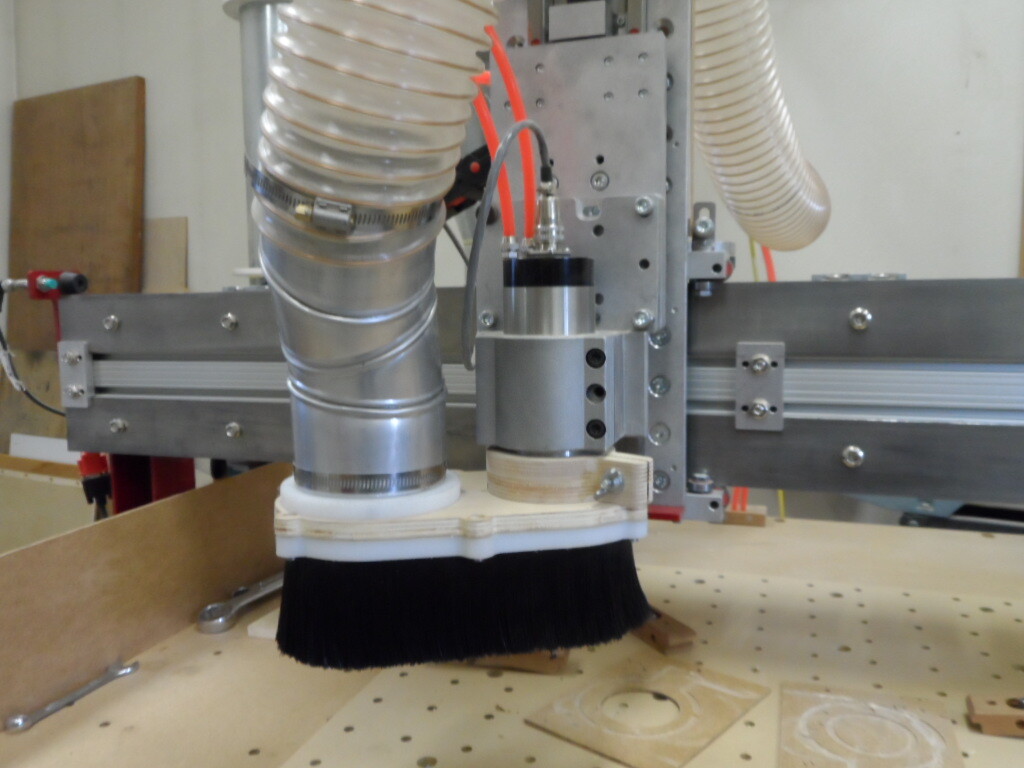
Since Eric asked (re my response to work holding) that I post some pics of my setup. So here goes.
I am trying to decide between building one like you have or buying the black box. If you don’t mind can you share the vac blowers you used?
Thanks
Yes this helps, what is the black pipe off the discharge side of the blower a muffler? If so can you share any details?
These are mufflers for built -in vacuum systems. I realized afterwards that the first pic I sent in the last post, I took for you that night. The second pic I found in my files, and are from the guy I got the idea from. That is why in the first pic the mufflers are white (mine) and the second pic was his (black|)
I will send you a PM, and if you want we can exchange e-mails, and I will send you a lot more info I have including wiring diagram
I made my own version of the black box as well. In the shop bot forums there is a ton of info on the subject, one really long thread in particular. When buying the motors go to zoro, they had the best price on them. Sign up and then add them to your cart, but dont buy them. You will get a coupon usually within a day for 10-20% off. I do recommend using 220v motors if you have an available line for it. Half the amp draw over the 110v which adds up and the wiring isnt as heavy.
It depends on what I’m making. I don’t do a lot of sheet goods, so I don’t have a vacuum table. I prefer T-tracks along with double sided tape, but also sometimes do bench dog vices.
If there are enough people building vac boxes we could start a wiki here to collate all of the information.
I am not familiar with zoro do you have a web address?
Thanks
Here is a link to the units that I bought.