It’s been a while since I posted a project. Still lots of projects being made here on this great machine, just not a lot of time to document them, or piece parts for the go-kart and electric racing trike that don’t tell a full story so they are hard to write about..
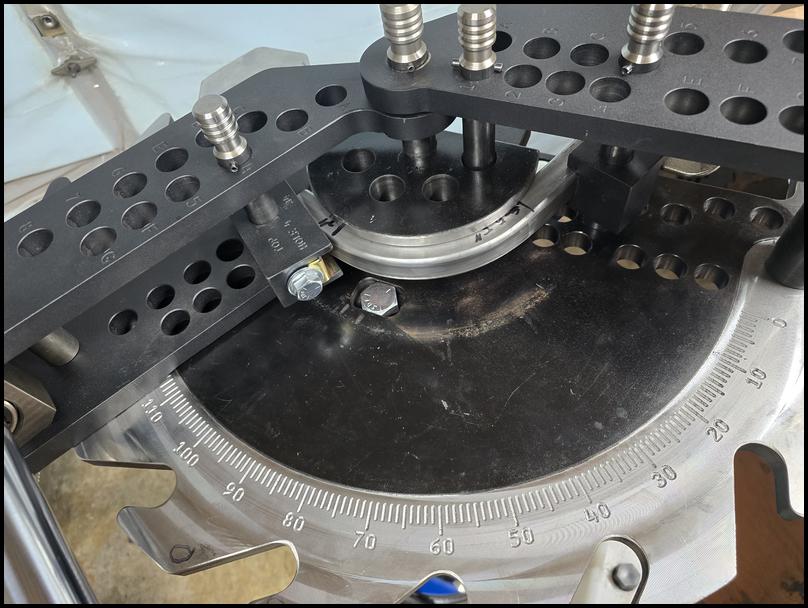
Here a few months back I ordered a JD2 Model 4 electric over hydraulic tubing bender. Pieces of the machine have been trickling in for a handful of months now and it was finally time to to assemble everything, but first I had to cobble together a stand for the bender. Fully assembled with a heavy die, they hydraulic pump assembly, the bender and the planned base, this assembly will come in somewhere in the neighborhood of ~400lbs, so steel was the first construction choice for speed of manufacturer.
I did not build a full CAD model of this as I had an image of the finished stand in my mind and this was more of a fabrication project. The only minimal bits of CAD that were implemented were simple flat patterns that I could process through my G-Code to Plasma post-post processor and then right on to the AVID-CNC plasma cutter.
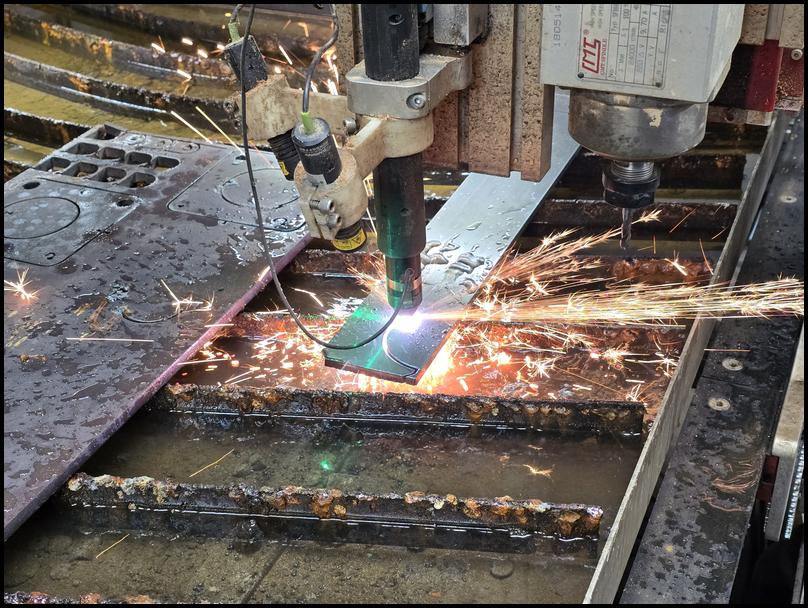
Just look at how crisp those parts come off the plasma cutter. In this case these parts are cut from 1/4-in 1018 mild steel. The vendor had some peeled and brush finished material on-hand that they provided at no extra charge due to over-cutting for another customer that didn’t take the full batch. This is much nicer than the steel finish I’m used to working with.
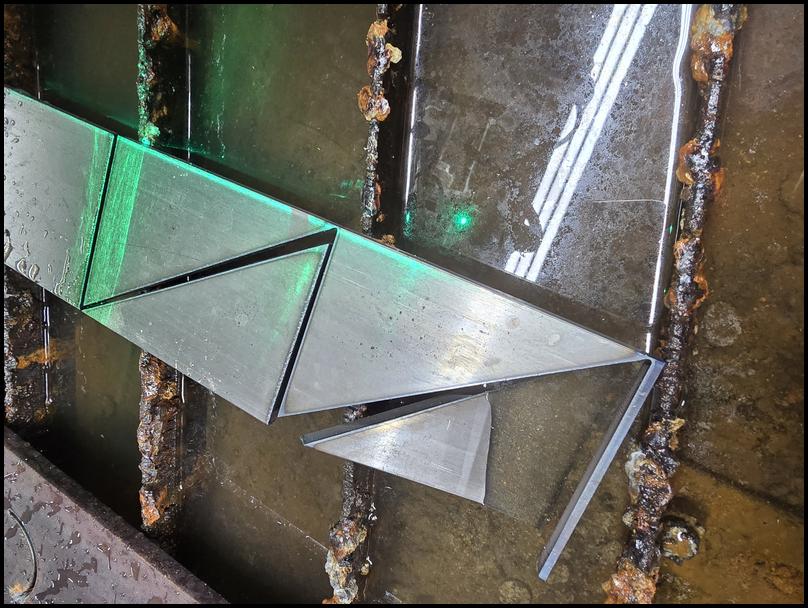
These parts needed a corner chopped off. You know, measure once, no CAD = cut twice ![]()

Some of the other Plasma Cut parts

The other parts I didn’t show are cut from 1/2in A36 mild steel plate.
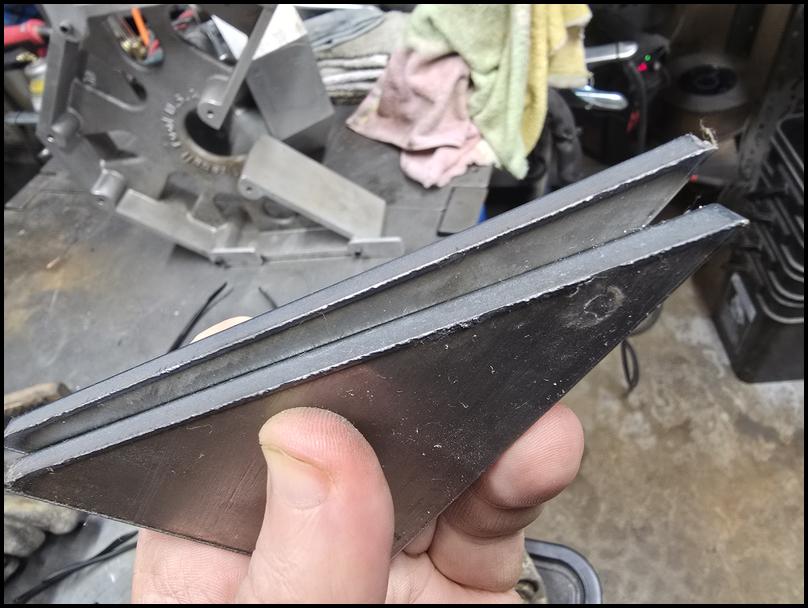
Below these are being set up for welding.

And more welding prep. These images are a little out of order, in this photo I hadn’t machined off the excess from the triangular gussets yet.

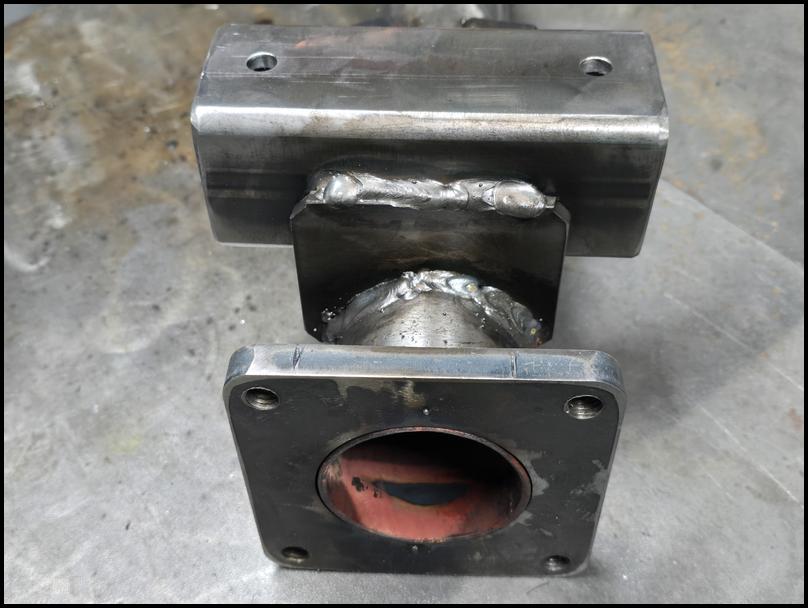
A lot of this welding was done at some pretty hot settings. Here it isn’t too bad as I’m only needing to wet into 1/4-in thick parts, but that top plate being 1/2-in needed a high energy setting and most of the heat focused on it, with only minimal heat going into the post.
Welding, welding and more welding. I was going to add some gussets in at the bottom, and may yet go back and do so, but for now I left them off and it seems to be working well.

The Parts were then powder coated… I wiped them down with acetone and then baked them out first to help with anti-splatter and tapping fluid coming out in the powder coating process.


The heavy base was a lot of work to grid off all the rust, but I quite enjoy the way the original casting finsih still shows through.

Lots of PPE used while gridning down that rust. By the end of 2hrs with the grinder, the air in the garage was orange and even thought I cleaned all the bench surfaces when I was done, the next day I had to repeat the cleaning as the detritus settling out of the air left an orange film on every horizontal surface.
After Powerder coating….

I made some custom soft rubber vibration damping thick washers for mounting the hydraulic pump. I ended up using the notcher to cut out small squares out of the sheet.
a 1/4-in sheet metal punch was used to put in the center / clearance holes

After that these went over to the hydraulic press with a 1&1/4-in hoop punch. I just eyeballed them but they came out pretty decent.

The modifications to the hydraulic press, visible in the photo above, are detailed on this forum post.

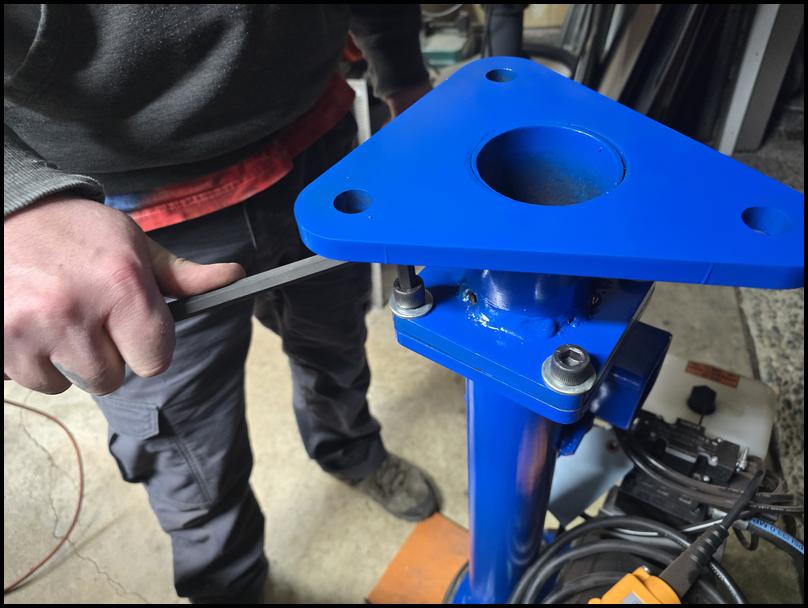
Assembly went super smooth…

As well as donating the huge brake drum, my neighbor from the next block over also donated these 0.200” thick 4130 chromoly tapered washers for the 5/8” bolts. They really set things off.

Fully Assembled…

Put it to use a while later with some 1” square 1/8” wall steel tubing.

Yup, more projects coming at some point…
-Kenneth
A quick addendum, if you care to see how the project I was working on turned out… A bessey clamp pulled the edges into perfect alignment (check out the weld seam aligntment, below)

Next I knocked out a quick plasma cut mounting plate on the AVID CNC.

At that got welded on…
A quick wipe-down in acetone to remove the sharpie marks and the part was ready for powder coating.

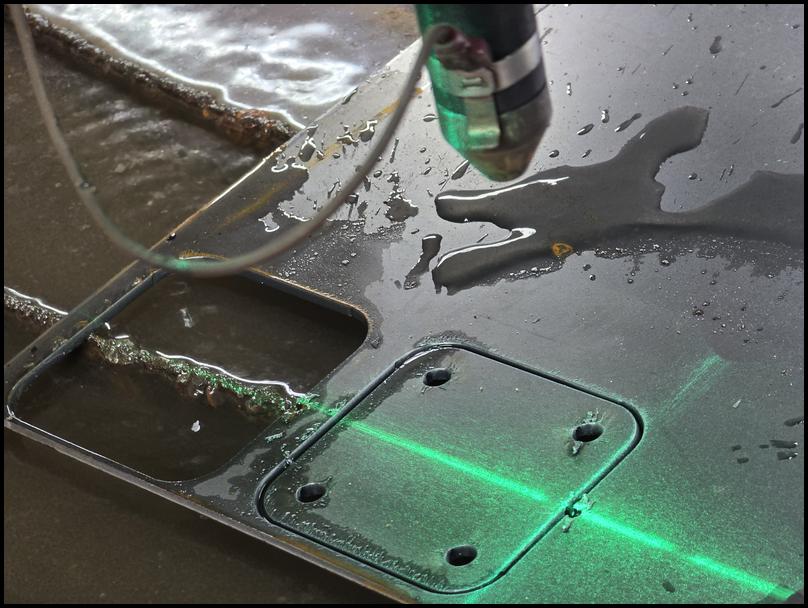
After this a quick check of the wall was made with a stud finder to verify the corner in the garage did indeed have 3 studs next to that metal corner cap so I dropped in 4-lag bolts and the part was ready to hand some tools on.


One has to look a little closer, there are four heavy duty 18” long bessy clamps hanging in the back on the right side, and some larger heavier clamps that aren’t visible in this photo on the left side. Current loading is ~80lbs and that makes this a quick / simple tool organizer project.
[EDIT: 2025/Dec/28]
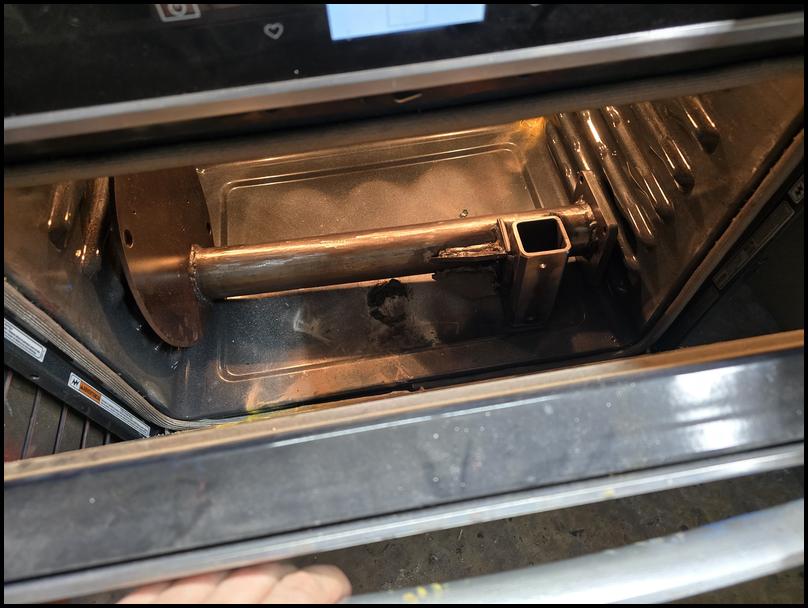
Fast forward a couple weeks and I’ve made an upgrade to this project. I used the tubing bender along with the AVIDcnc plasma cutter and the MIG welder to build a roll cage, providing protection to the plastic hydraulic fluid reservoir. The hope here is that I can keep this piece safe from a collision that may eventually snap it off possibly damaging the hydraulic pump at the same time.

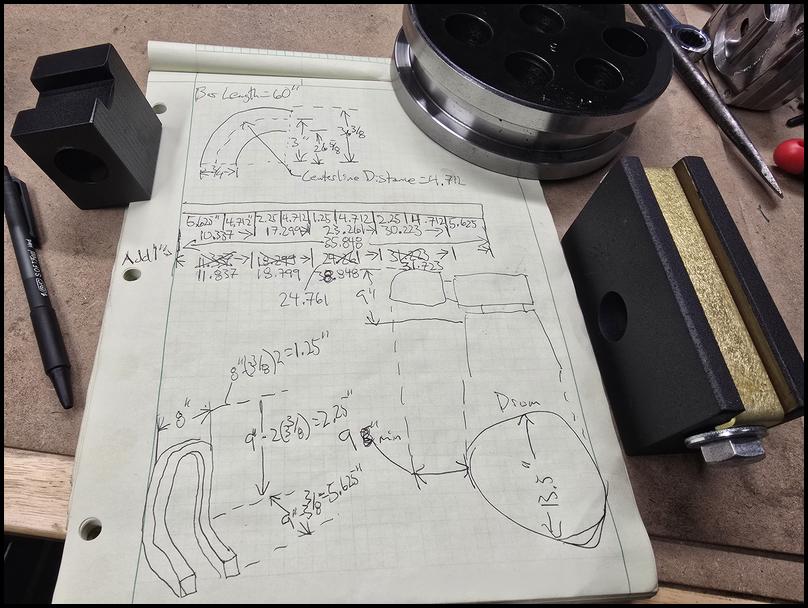
The calculation to get these bends correct is pretty straight forward for those that paid attention in high-school math. That said, I take the time to make notes and draw it all out and then mark all of the bends onto the steel just to keep myself from making simple mistakes as I go.


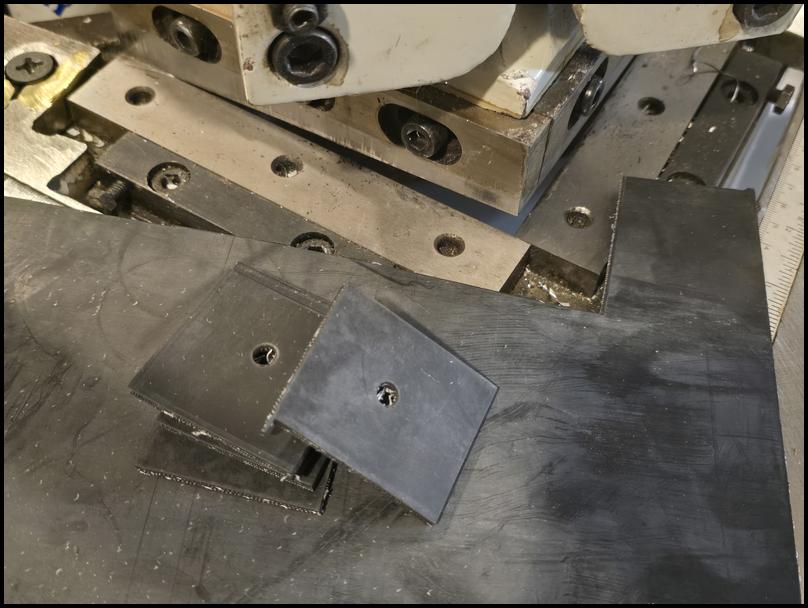
In this second piece, I bounced back and forth between construction phases, from cutting material to welding, back to bending and on… Here are some of the first pieces being welded in…

And then it was over to the AVIDcnc to plasma cut some 10Ga (0.135in) mild steel plate to wrap around / form to the brake drum and give this ‘roll cage’ a solid mounting.


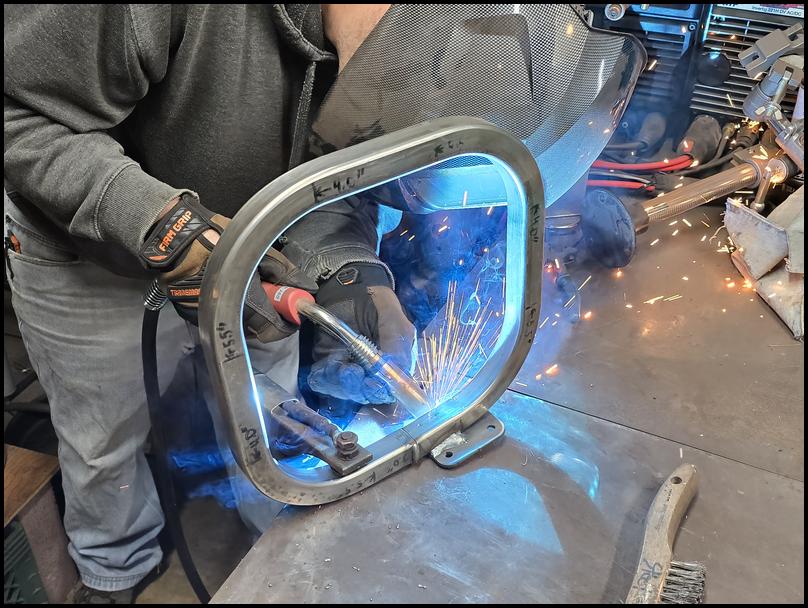
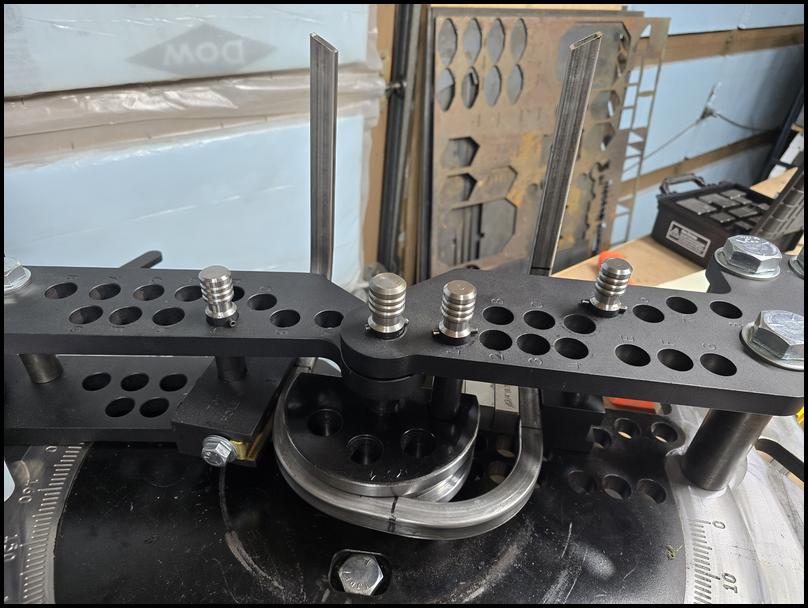
This piece I bent by hand, clamping in the bench vice and slowing bending it over, moving, bending, holding up to the brake drum to check the fit and back to the vice for more bending.

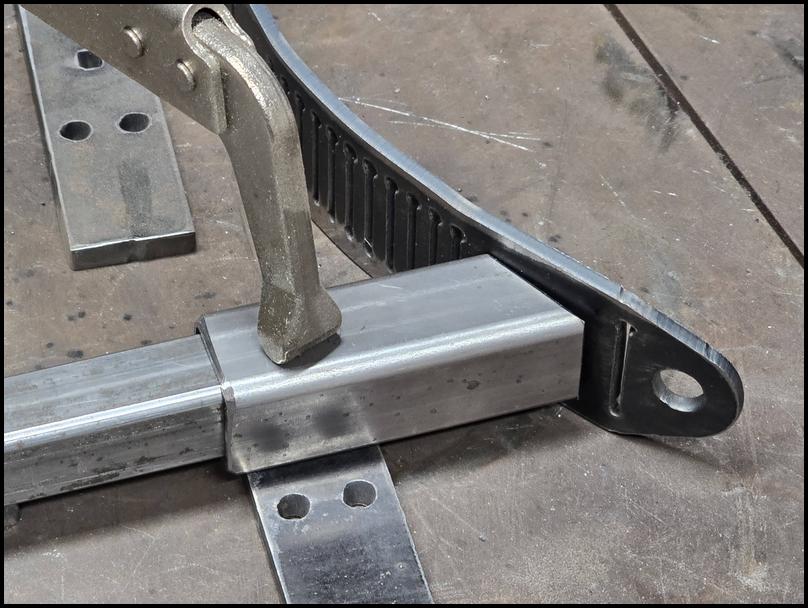
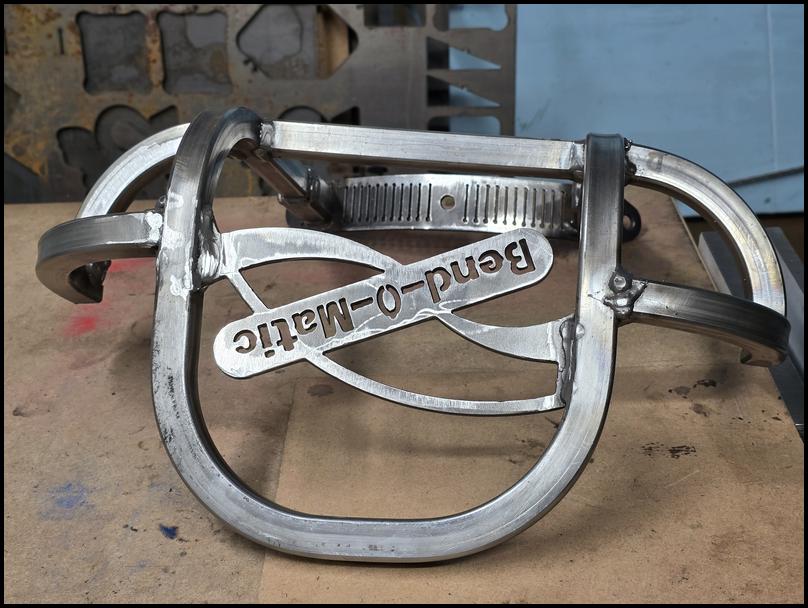
With this piece shaped the way I wanted it, I clamped up the assembly and welded it on. I made a set of sliding, ‘boots’, that connect between the roll cage and the newly bent mounting piece. This allowed me to get the fit just right and to slide things in/out and adjust hte angle at the end of the boots to achieve a solid fit-up, prior to welding.

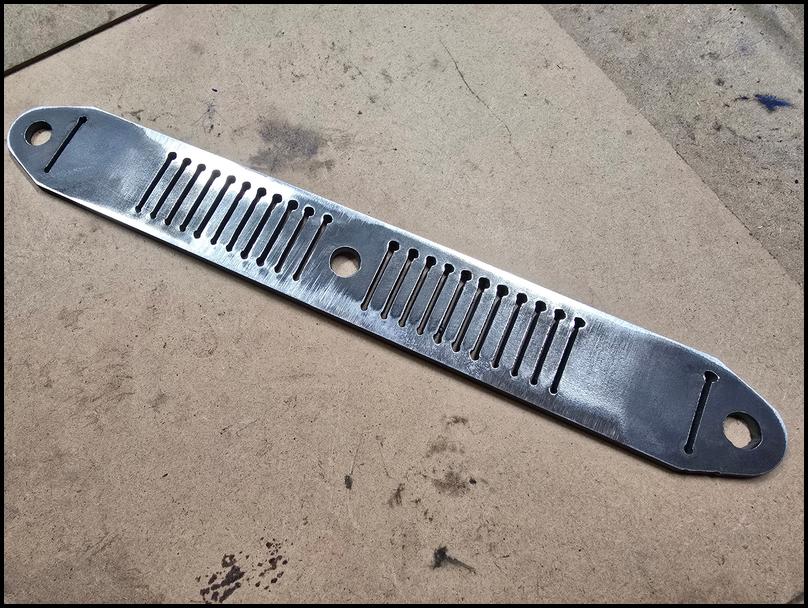
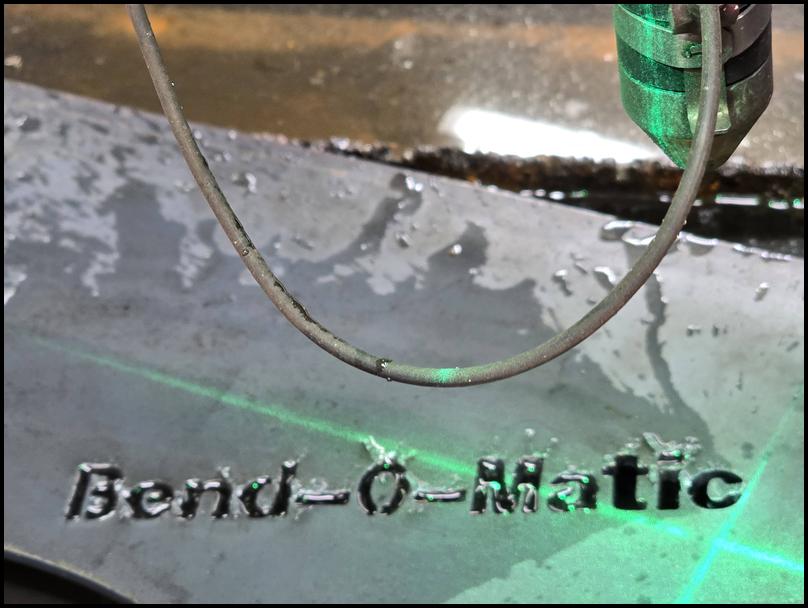
Lastly, I needed a ‘screen’ to close up the end of the roll cage to add a little protection there, so I went with some plasma cut signage. This piece was simply free-handed in the legacy CAD system and again cut from 10Ga. mild steel plate.
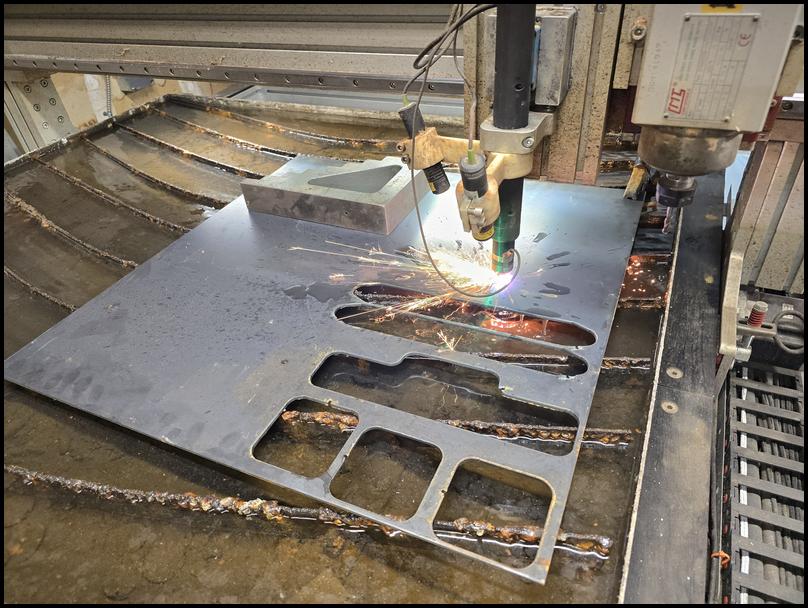

And then, like the others, this piece was welded in.
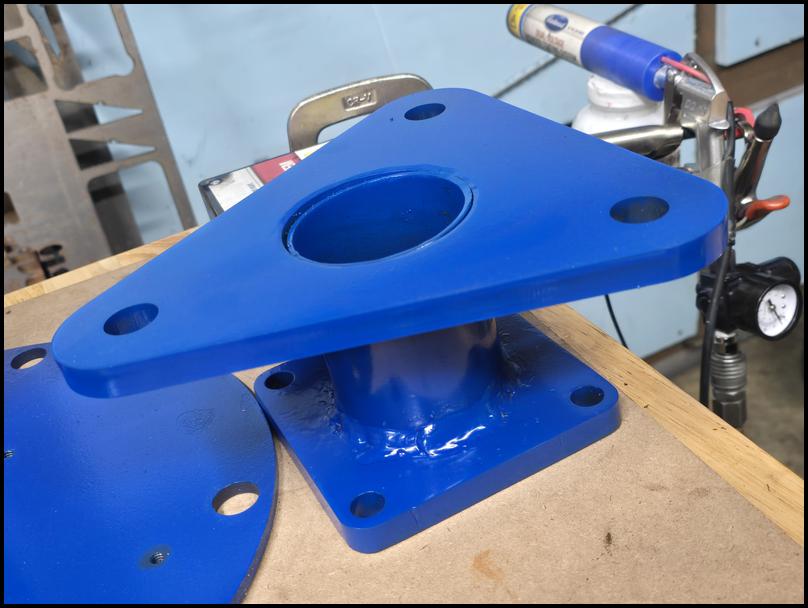
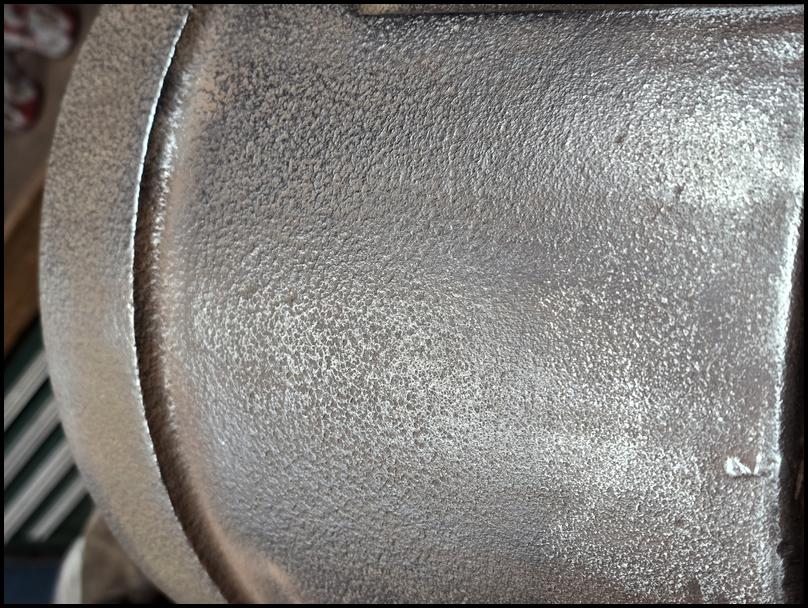
Next up, powder coating. This time I went with a two-color process, using mirror blue and single coat chrome. This chrome isn’t the bright / shiny reflective look that many people associate with chrome, but this particular powder has more of a polished / buffed aluminum look that I appreciate.

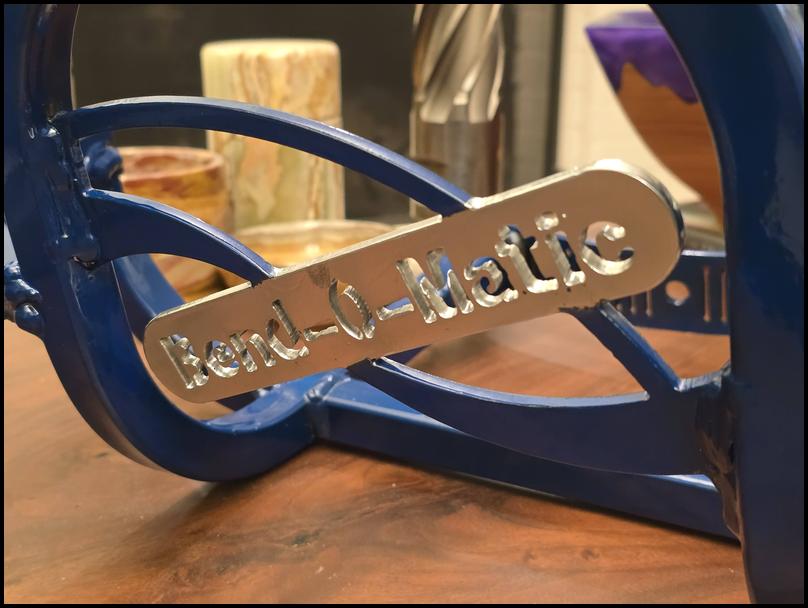
Don’t look too close, I left a fingerprint in this piece, but for a part that will be used in the garage, it is good enough for me. ![]()
I drilled and tapped 3-holes into that 13&1/2in diameter brake drum by hand. Looking back and laughing I ‘should’ have grabbed the mag drill, but alas, I was on a roll so these holes were put in by hand. Ugh. Great workout through…
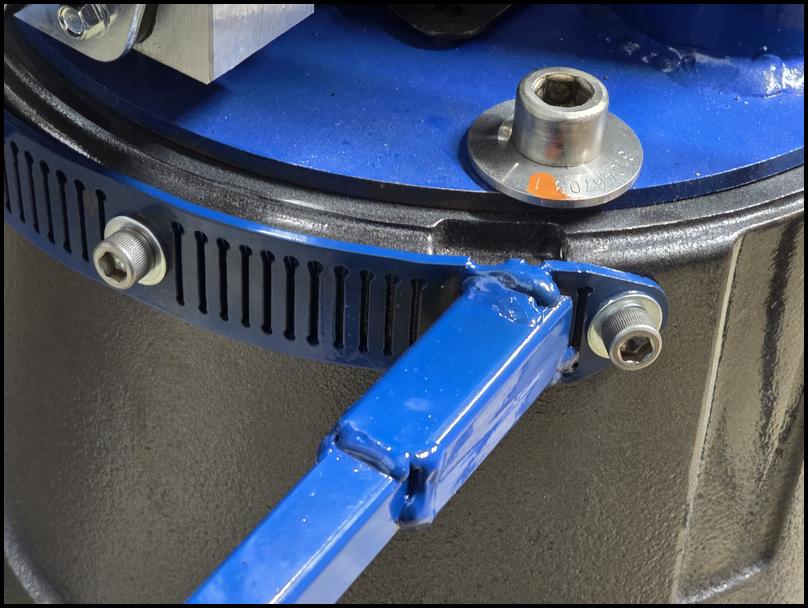
A - Viola! A roll cage to protect the reservoir on the hydraulic pump.

Its always great when a project comes out looking the way you envisioned it before starting. ![]()
-Kenneth